
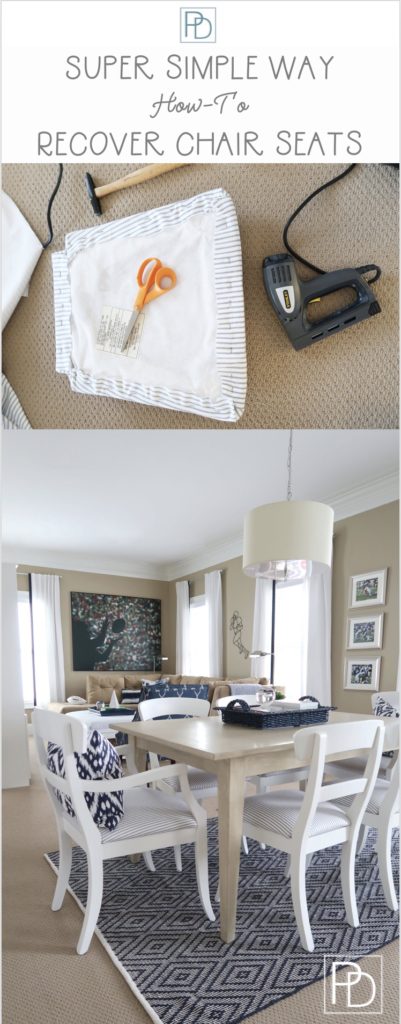
Affordable Update: Recover a Chair Seat with Fabric
Want to know the cheapest and easiest way to update a chair? Pick a new fabric and recover the chair seat!
To say I know how to recover chair seats with fabric is an understatement!
Once I learned how to recover a chair, I realized it only takes about 15 minutes for one seat and an average of less than a 1/2 yard of fabric.
It’s one of the cheapest and easiest ways to update your furniture. Have little kids?
Then you MUST learn this skill of replacing the fabric on the seats of chairs they use most.
Let me share a little tip with you…you can have beautiful fabric on your kitchen chairs even with small children!
If you have little kids, there is Sunbrella fabric that can withstand a lot! But I went one step further when my son was little and covered his chair with clear vinyl!
That way my kitchen chairs could be covered in a gorgeous fabric. The clear vinyl layer meant the seat could withstand anything he dropped on it while eating or doing craft projects.
It was the perfect solution and blended into my decor. I could wipe of ANYTHING! Trust me it solved multiple issues 🙂
What can you recover with fabric using this method:
- Kitchen Chair
- Dining Chair
- Accent Chair
- Ottoman
- Bench
- Bar Stools
- Porch Swing (Click here for that tutorial)
My home is filled with these very same items I’ve recovered usually more than once!
I am a serial redecorator – it’s a disease 🙂 The art of upholstery is easy and I’m going to show you exactly how to tackle this project.
Some affiliate links are included in this post, but all items were hand selected by me for you.
Recent Furniture Recovering Projects
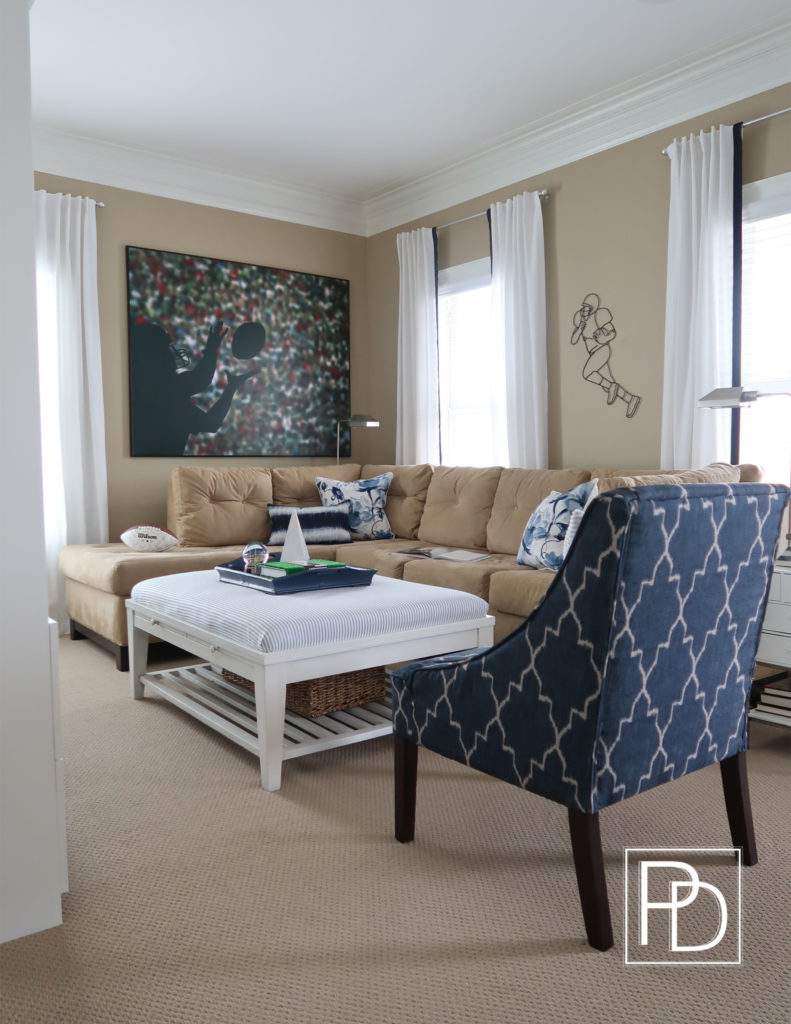
Because recovering an old item is so inexpensive and painting is too I used both to transform a couple of pieces during my One Room Challenge. Let’s just do a quick review of the before and after:
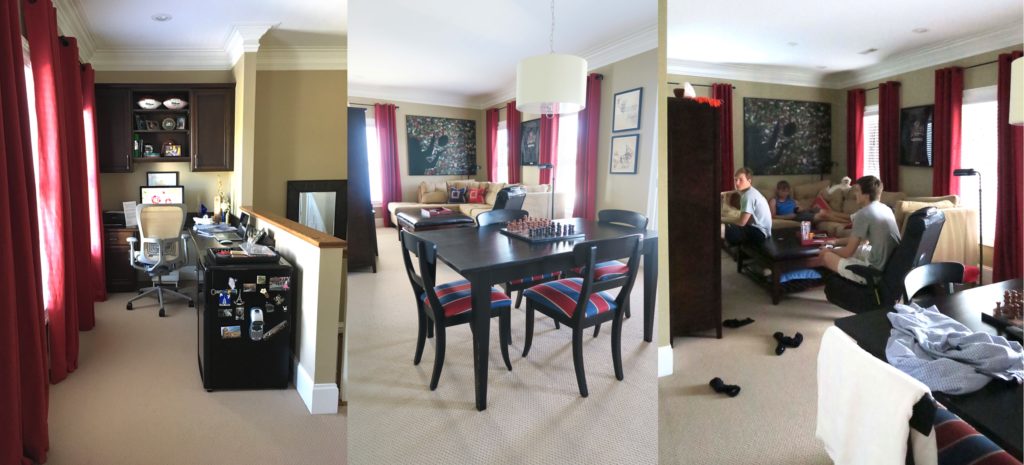
Most of the furniture was re-purposed and looks SO much better.
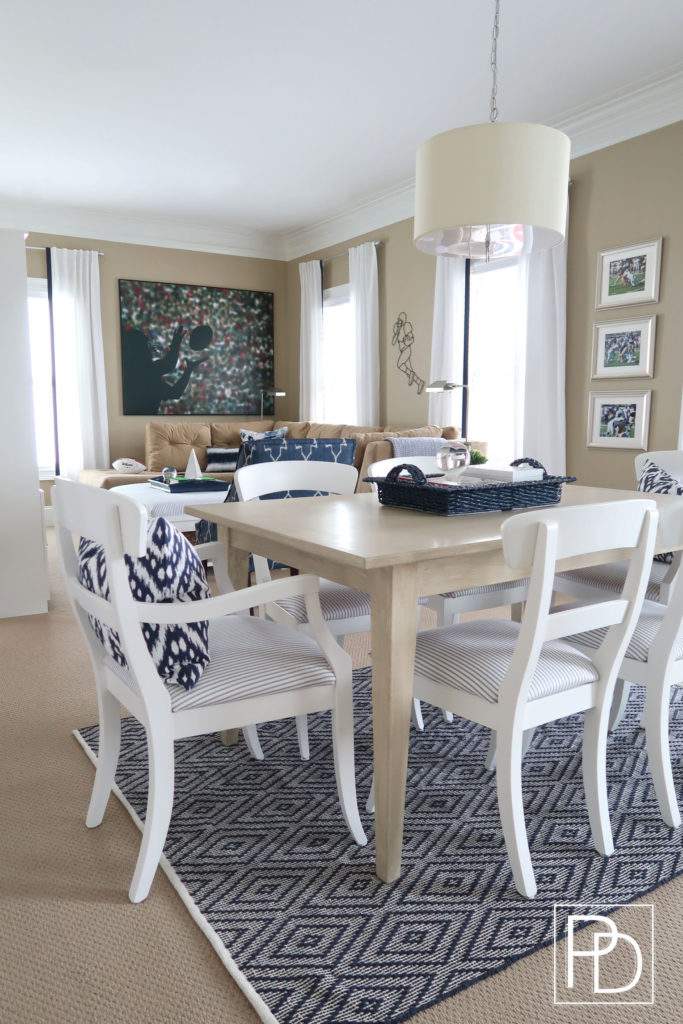
By painting and recovering the chairs in the sitting area and the coffee table ottoman, it gave it the look of brand new furniture.
The ottoman had already been recovered once prior to this. If you are curious about the paint color of the chairs and coffee table, it’s Valspar Swiss Coffee 7002-16.
Then I purchased a very inexpensive white and blue ticking stripe that I used to cover everything and even made a no-sew slip cover with the leftover fabric for the office chair.

The Basics of Recovering a Chair
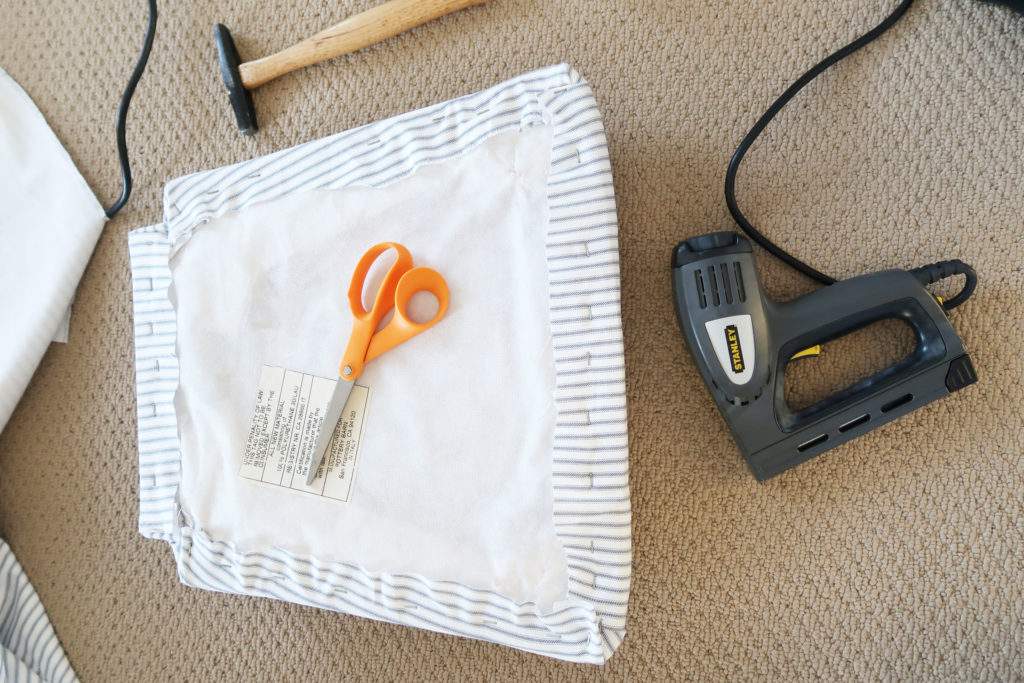
First you will need a few basic tools and if you plan to do more than one chair an electric staple gun will be your best friend!
If you need to know all of the basic tools you should have in a DIY toolbox, read Single Mom’s Guide to a Basic DIY Tool Box
Needle Nose Pliers
You will use this to remove staples of the current fabric or if you have to pull out a staple as you are covering the seat.
![]()
Scissors
Use these to cut the fabric to size and to trim excess fabric.
![]()
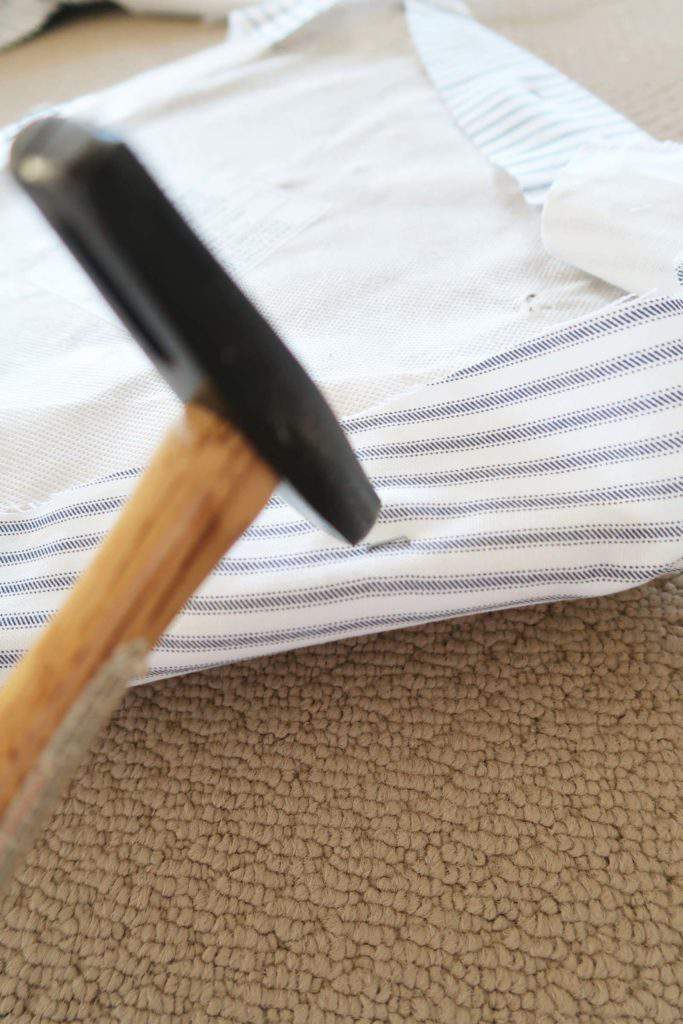
Tack Hammer
Sometimes the staple gun won’t push the staple in deep enough, so you use this small hammer to pound them into the seat.
![]()
Electric Staple Gun
My favorite tool ever! Automatically staples the fabric onto the seat and save your hands and wrists from fatigue!
![]()
Pack of Staples
I’m recommending the variety pack. Sometimes you need the longer lengths to get through thicker fabrics or backs. Experiment to get the right size.
![]()
Power Drill
Use this to easily remove screws to release and re-install the chair seat.
![]()
The Re-Covering Process
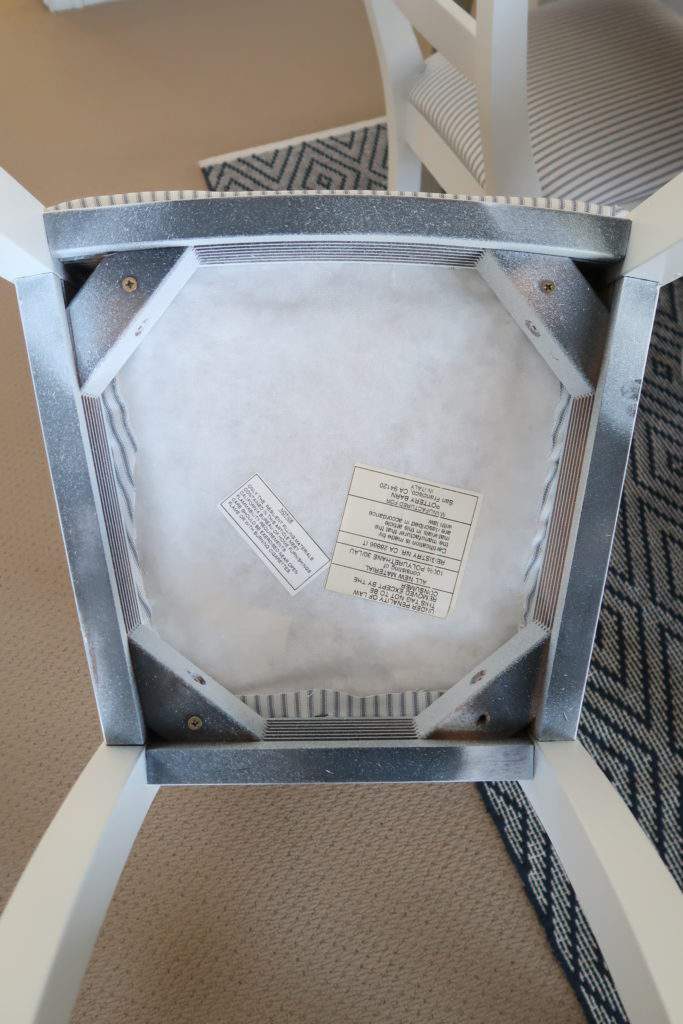
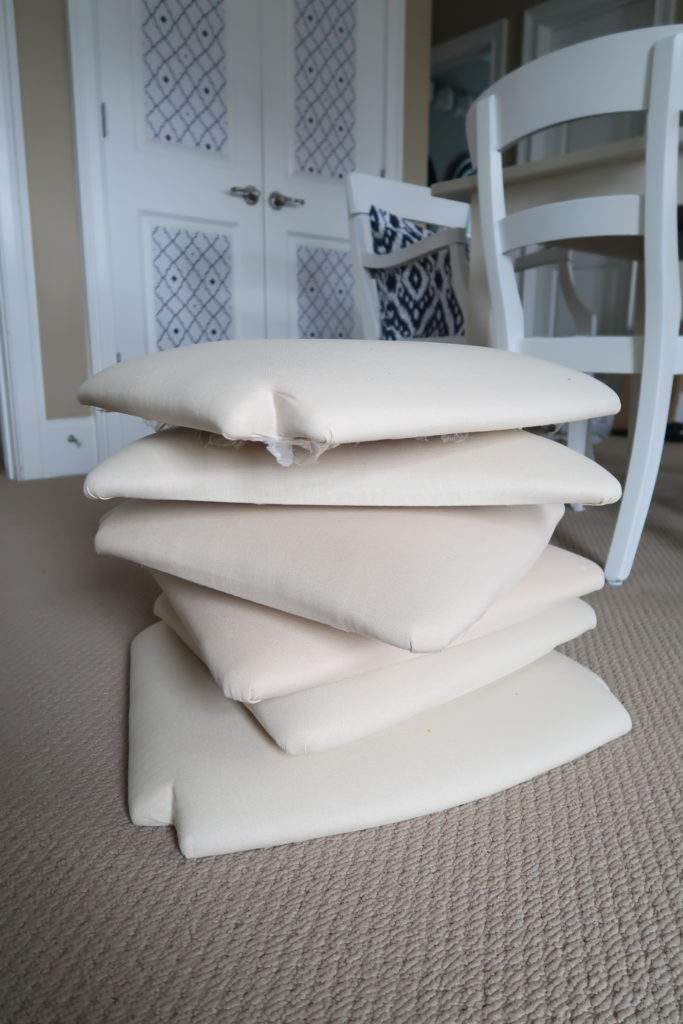
- Remove the chair seat from the frame. Flip it over and find the screws and remove with drill. Remember: Lefty loosey and Righty tighty! Set the screws aside in a safe place.

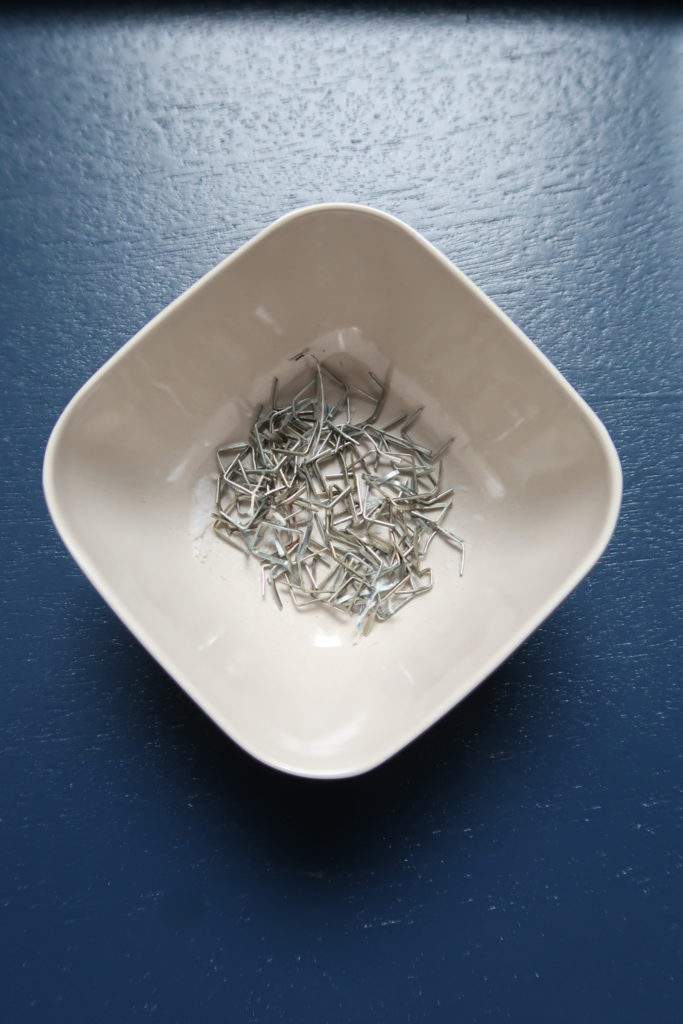
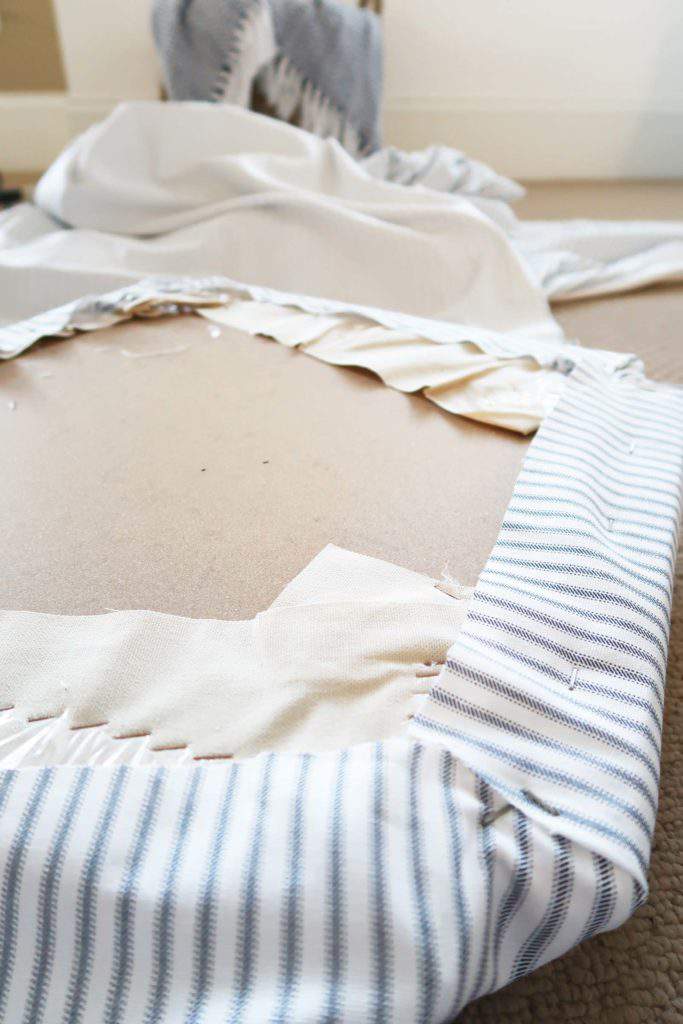
- Remove the old fabric pulling out the staples with the needle nose pliers. This can take a while, so get comfy and put on a TV show you like! You will end up with a lot of staples.
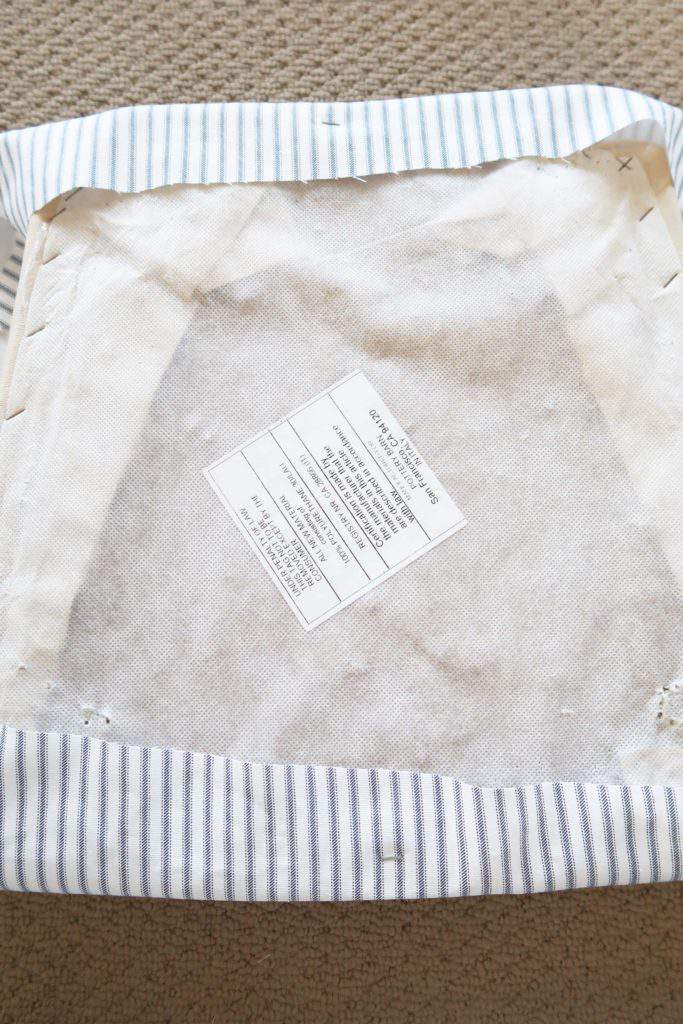
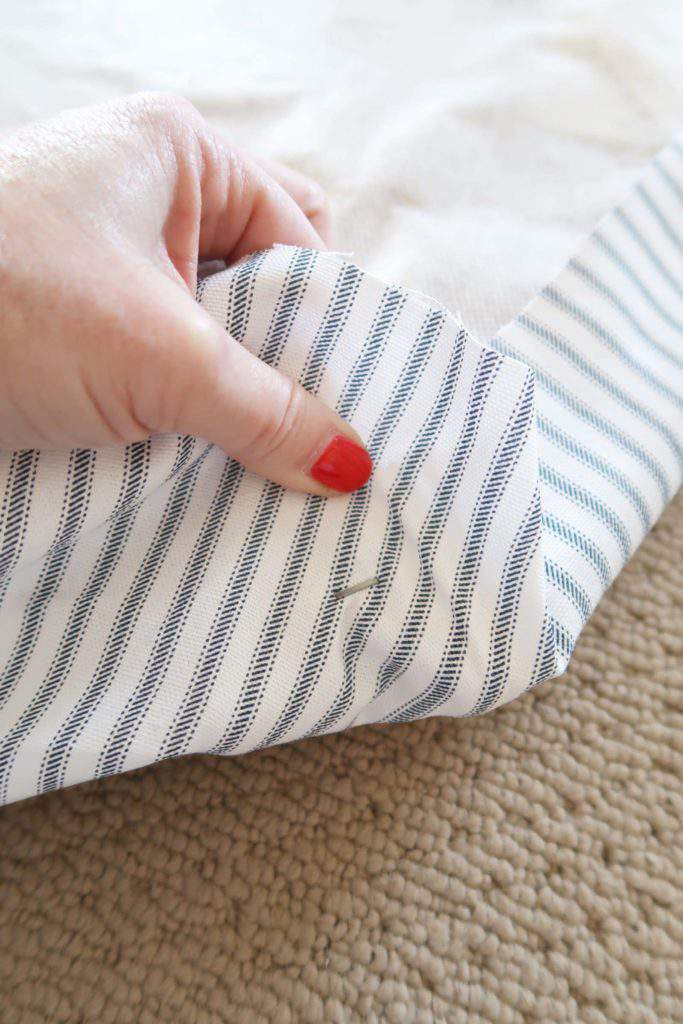
- Place new fabric under chair seat and cut the fabric to leave about 6 inches around all 4 sides. I pull it up on each side to make sure I have enough room to add staples.
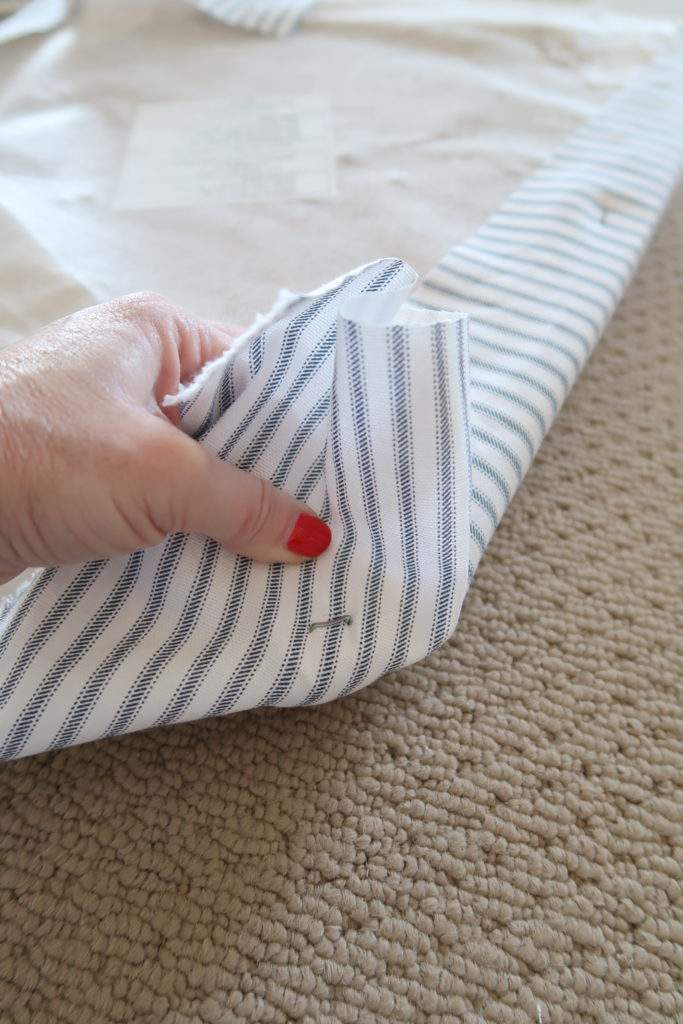
- Trim off excess fabric and place one staple on one side to hold fabric in place. Flip over and make sure it’s straight and then add a staple on the opposite side. This helps to keep it secure as you work on the corners. DON’T ADD ANY MORE STAPLES AT THIS POINT.
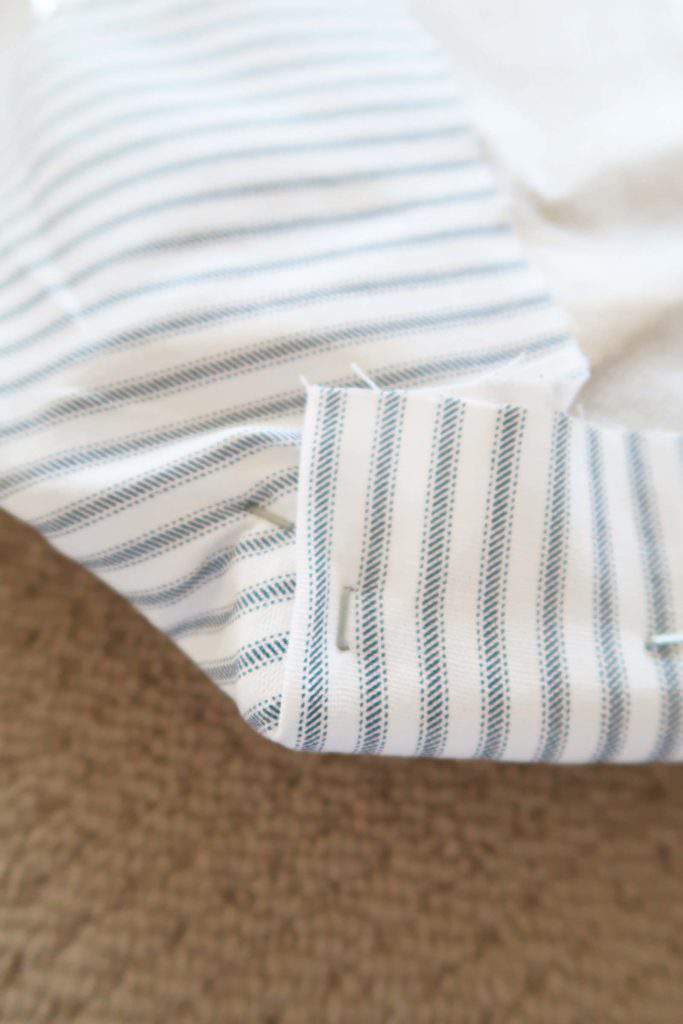
- Starting with the front corner, pull it straight up from the point and secure with a staple that is centered on the point.
- Then, folder over and secure each side like when you make a burrito or swaddle a baby 🙂
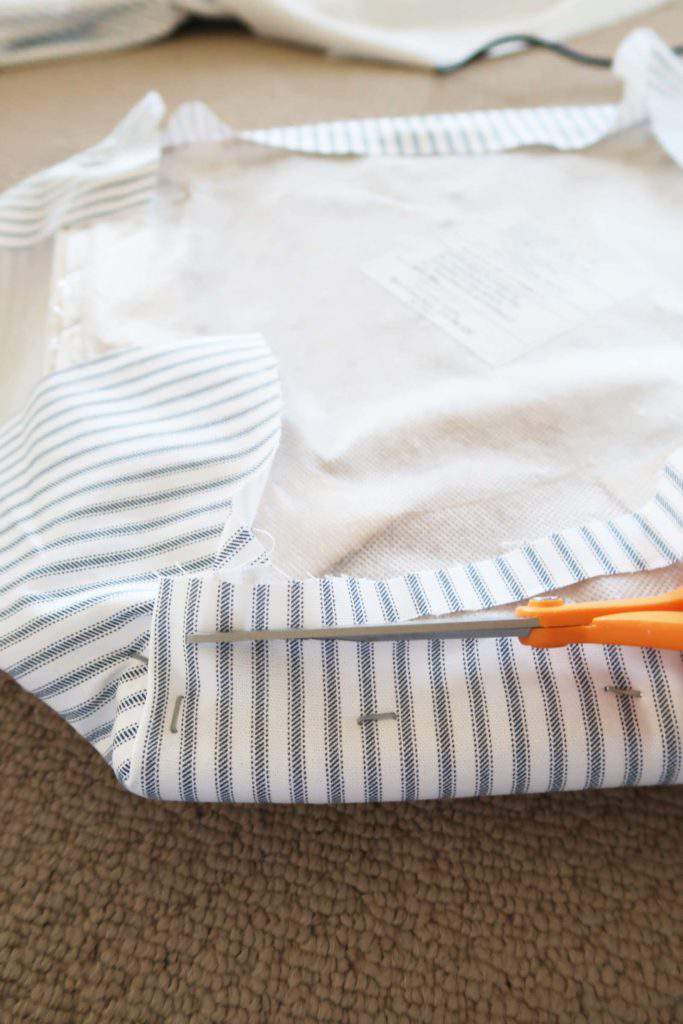
- Trim off excess fabric in the corners as you go. Pull to make sure you have enough to staple down!Folding in the corners leaves a lot of excess fabric and in order to secure the seat to the chair it’s important that everything is nice and flush.
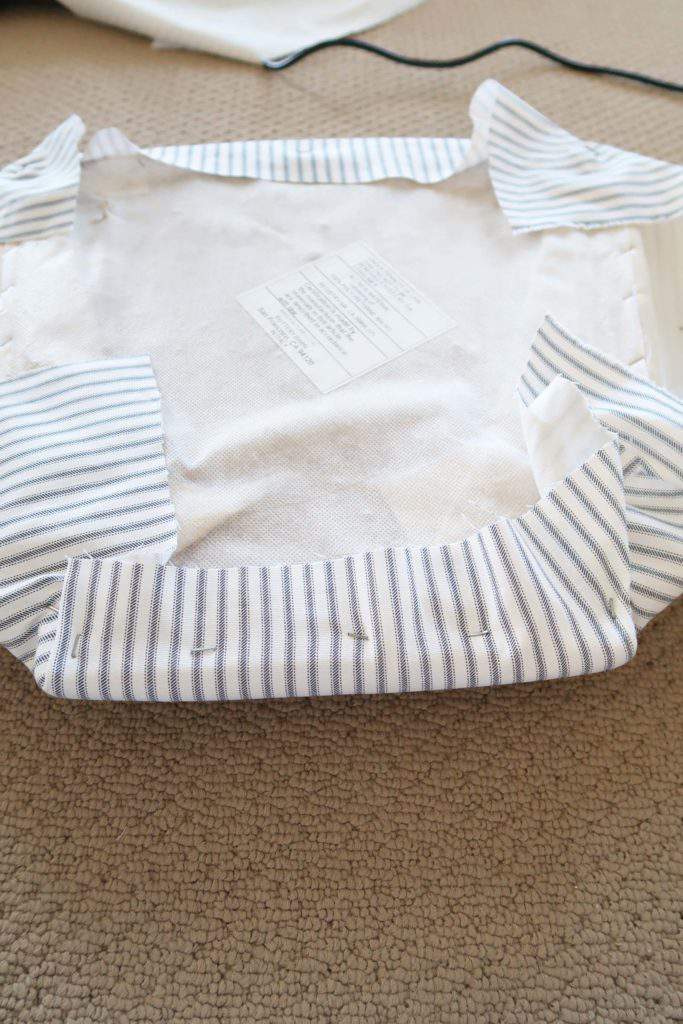
- As you get one corner done, pull and staple down the sides and ends. Keep flipping over to make sure the fabric is taught against the seat. If you have to, pull out staples with needle nose pliers and adjust and re-staple. You CAN’T make a mistake!
- Go around and pound down all staples so they are flush and secure.
- When you are finished it should look like this!

- Place the chair seats back on the frame and secure with the original screws! It may be easier to lay under the chair to do this, so the seat is being held down with gravity and you can pull it down with your hand and you screw it into place.
YouTube Tutorial
Since I didn’t film myself doing this, I’ll link a You Tube video that is close to my method – Woodfield where he folds his corners the opposite way, but gets the same result!
I think it’s nice to see it in action and it’s a fast video tutorial. Plus he uses a heavy-duty faux leather which is a little harder to work with in upholstery.
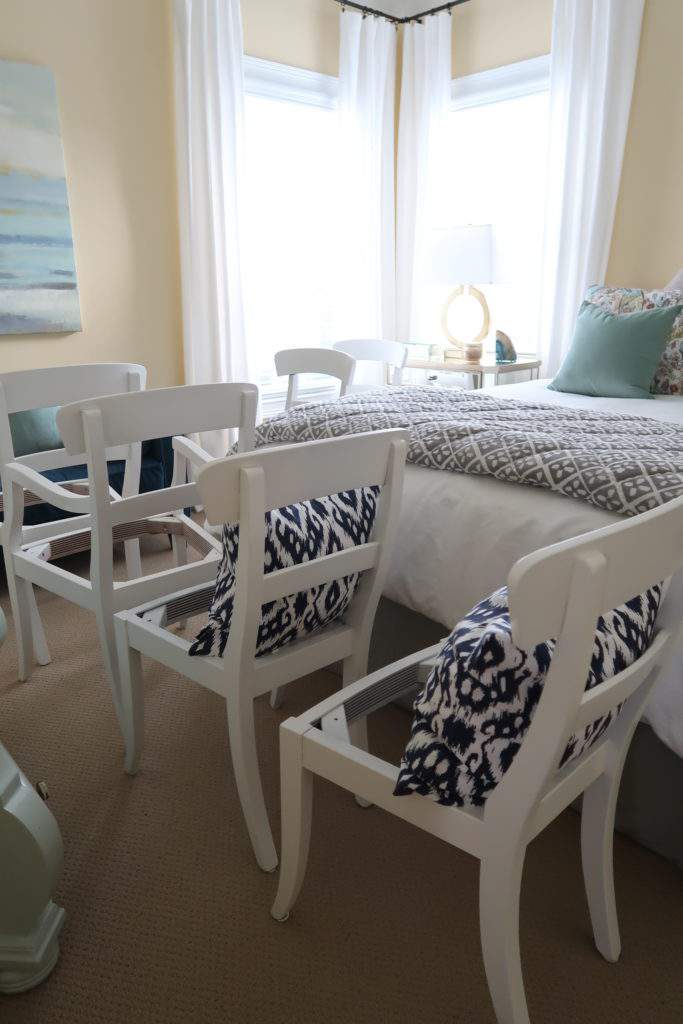
Final Product
Now you can think through using this process to recover items in your home. What a little difference new fabric can make. Recovering 6 chairs took me under 2 hours, so this is an easy weekend project.
All you will need to do is find some fabric that you love and get started!
Using the EXACT same method I recovered the ottoman. The uses are endless! You can do it!
As always, I hope I’ve given you the confidence to tackle a project you may never have before and make your space more beautiful – FOR LESS!
Porch Daydreamer
Tracey