
Taking the Man Out of the Man Cave: WK 4
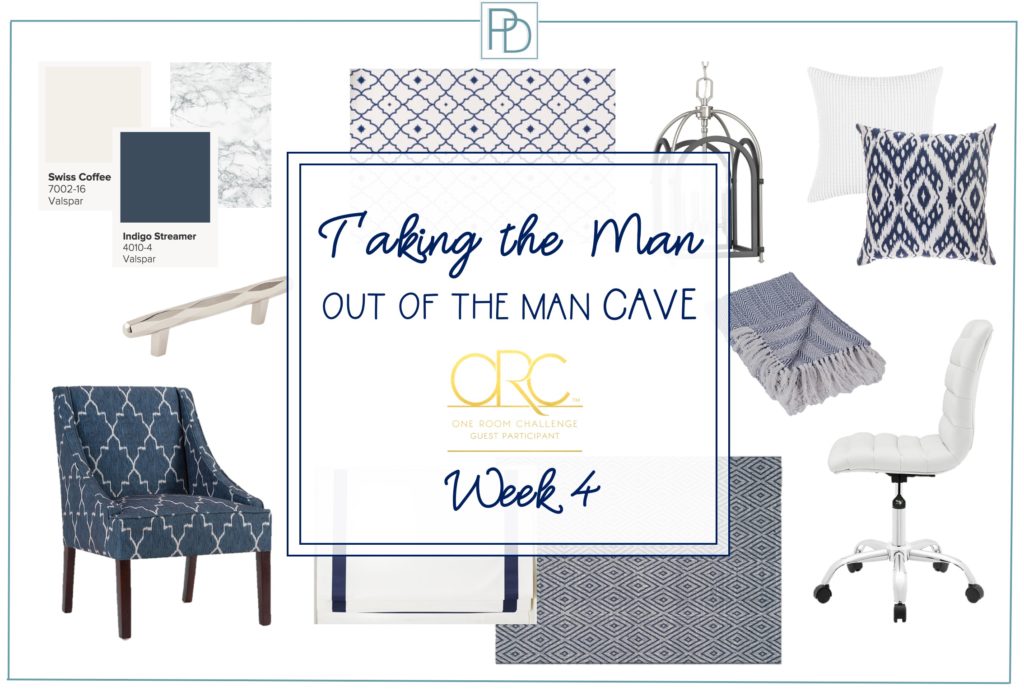
Taking the Man Out of the Man Cave. The Office is Getting Prettier!
If this is your first week visiting my One Room Challenge™ progress, welcome! We are in week 4 of a 6 week now 7 Week design challenge!
To follow along from the beginning, I’ll link the previous weeks here: WEEK ONE | WEEK TWO | WEEK THREE| WEEK FIVE
Yep, Calling it Home decided to extend the challenge a week for those who have faced recent natural disasters (I feel for that group).
I am happy because it frees up a weekend to visit my son in college and watch him play football! Phew and happiness at the same time.
The Office Space
Who loves the movie Office Space? I do! If you haven’t seen it, find it on Netflix for a good giggle.
Back to my office space…this Monday I started a new job working from home – yay! I’ve been very motivated to get this area in good condition, so I can work in the space at a minimum.
Oh boy, this is the area that has experienced a HUGE transformation so far and I can’t wait to reveal it when complete.
As a reminder here is the before and now that I look at it I realize why I never wanted to work in this space.
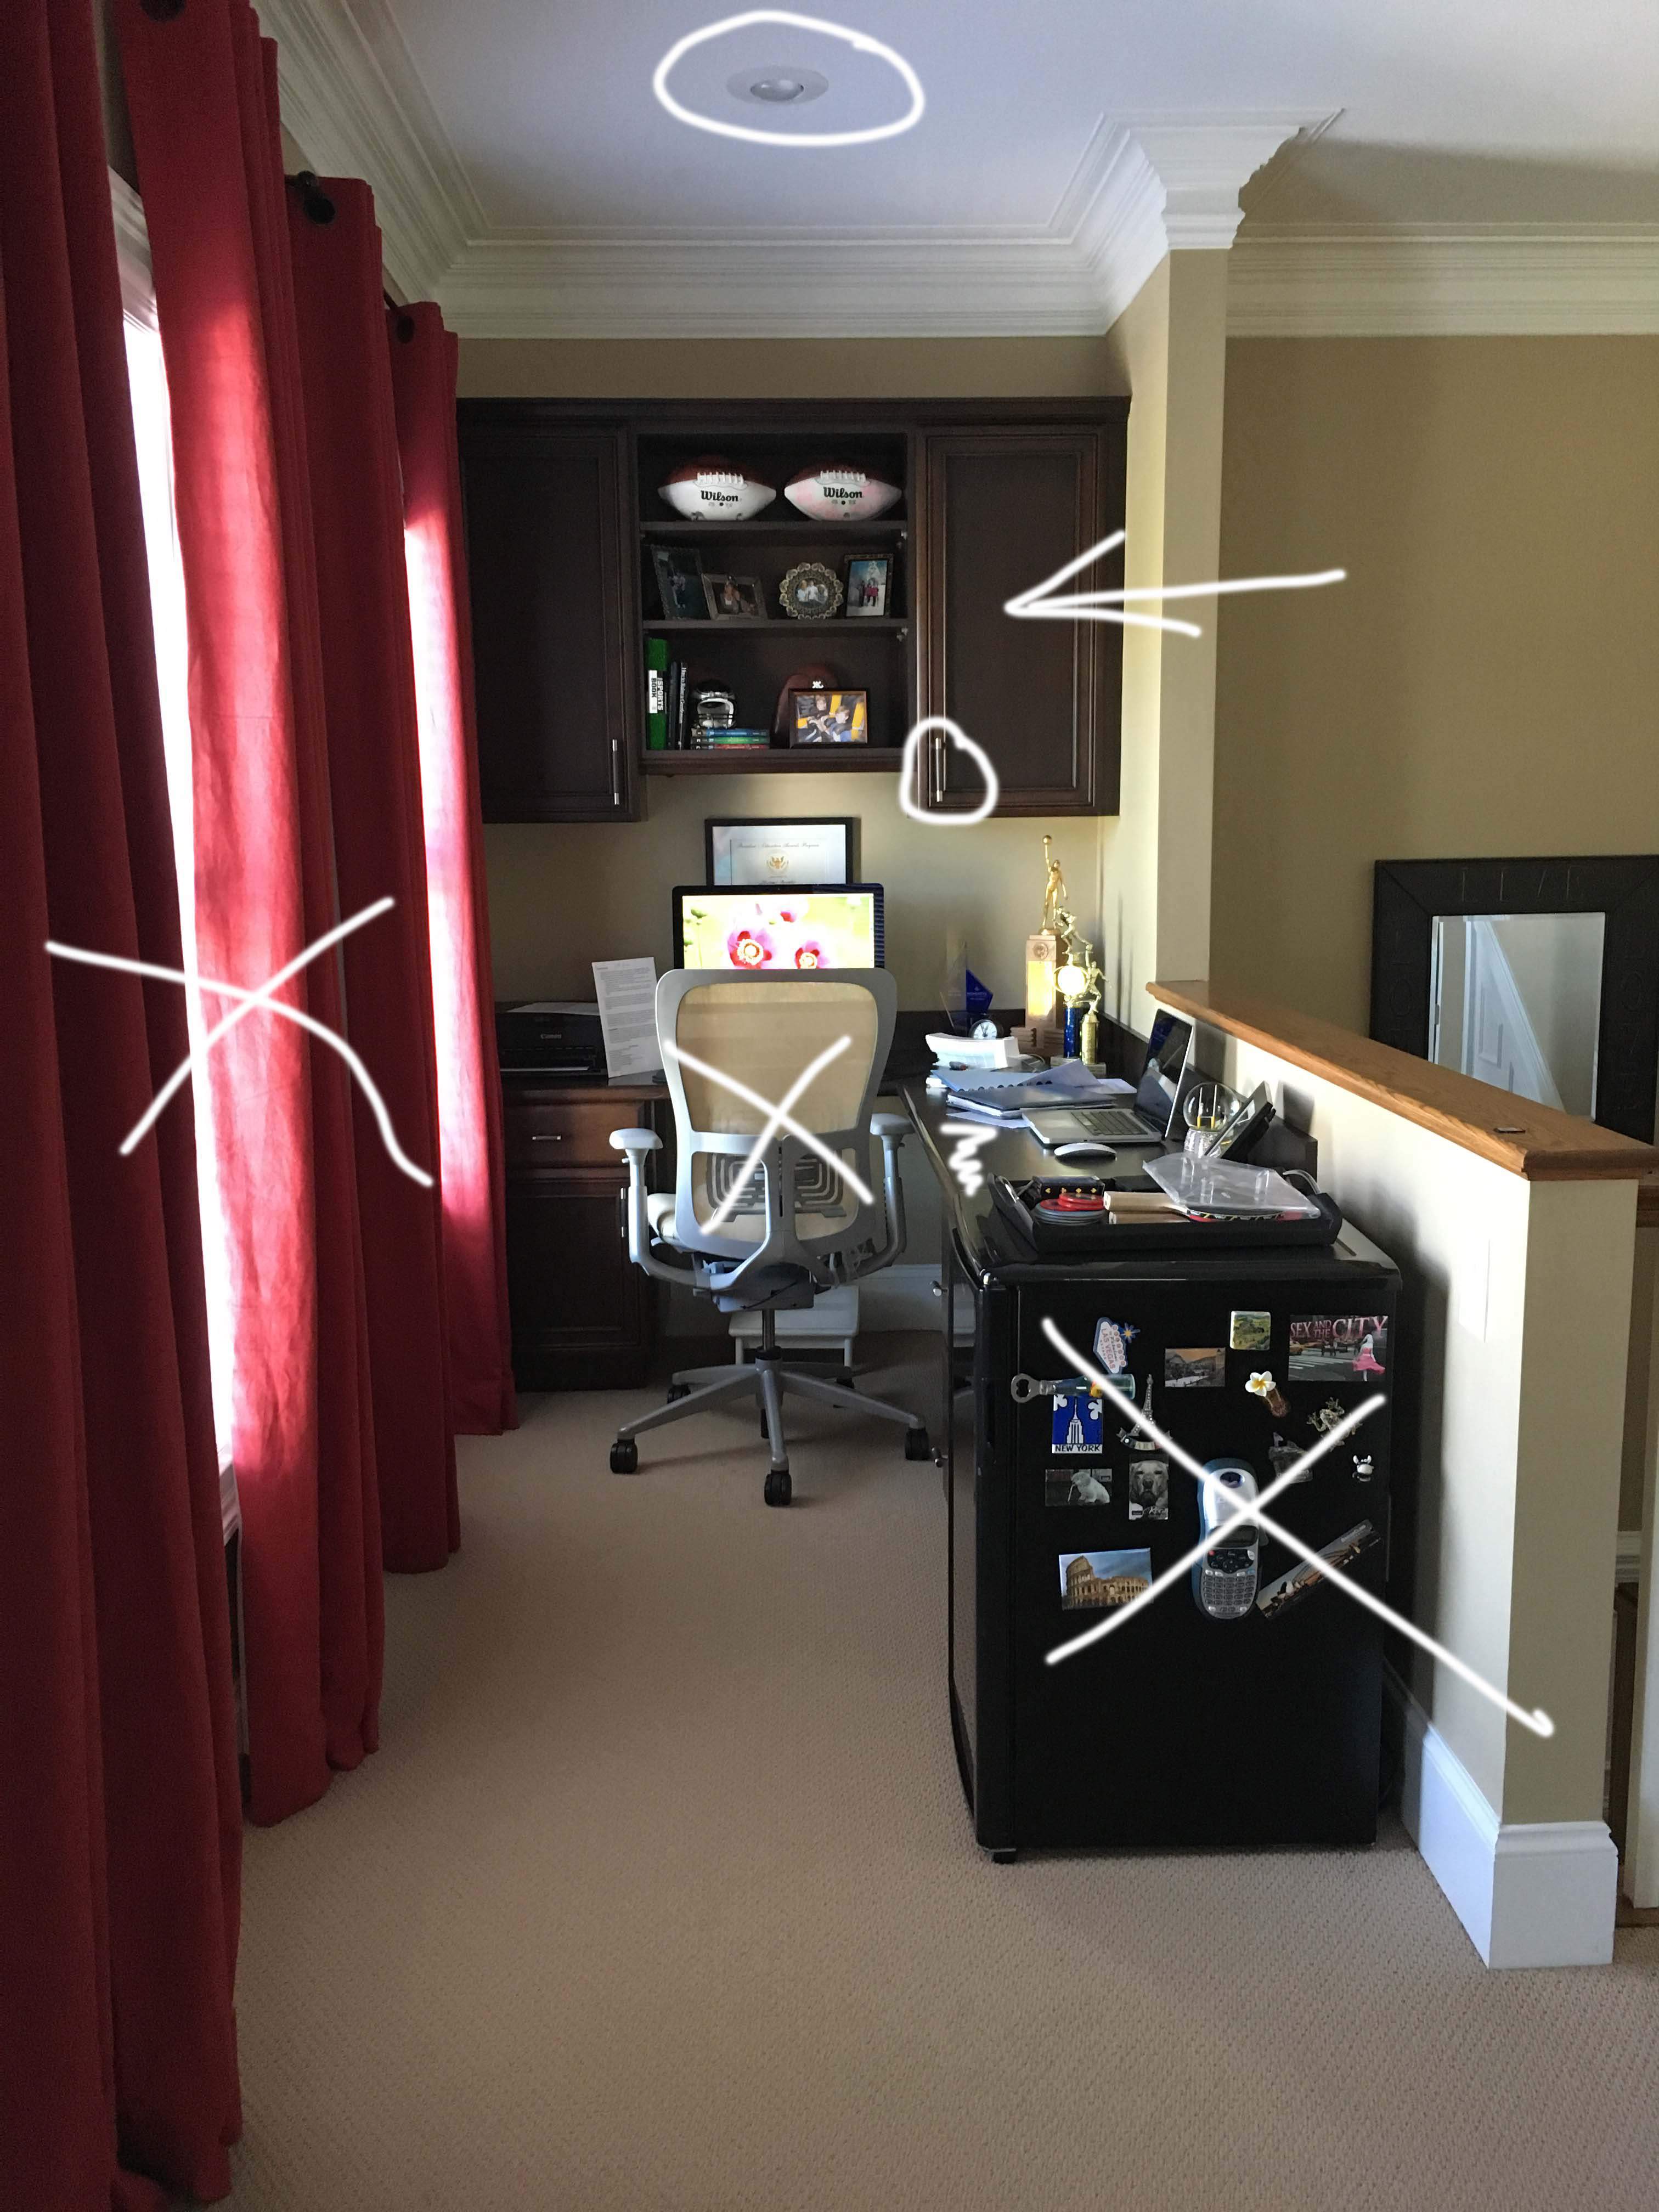
It was dark and the red drapes closed it in too much plus that one drape hung in front of the one drawer I had to organize things like pens, tape and staplers. Just a bad option in this small space.
Sometimes you re-use things from another house and my red drapes are from an old bonus room. They’ve been loved for 10+ years.
Now they are in the attic waiting to be used for if/when my son ever wants them for his first apartment.
The Office Updates So Far
- Red drapes are down and the roman shades installed
- New office chair assembled and being used
- Mini-fridge donated
- Cabinets and shelves painted
- Walls painted
- Hardware installed
- Can light removed
- Light fixture installed
- Wallpaper installed
- Bench assembled and in place
Not complete: Installing the Marble Contact Paper, but on tap for Week 5!
The Biggest Challenge This Week
First, I just want to remind everyone that I decided to tackle ALL of the labor in this One Room Challenge. That made the budget work!
Wow, it has been a PHYSICAL challenge to say the least. I’ve been called the Energizer bunny, but there have been days along the way when my battery has died and that happened Monday following this project.
Electrical work is something I keep to a minimum, but I have installed a small chandelier, a few ceiling fans, and lots of dimmer and light switches. I know the basics and am comfortable.
Deciding to change out the can light to a light fixture seemed totally in my wheel house
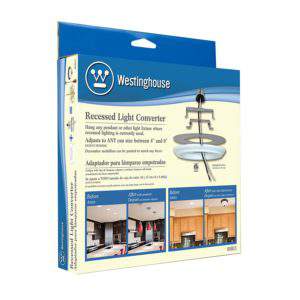
Plus I found this really cool conversion kit. Click this link to purchase. and a YouTube Video on how to install it. Click here to watch the video.
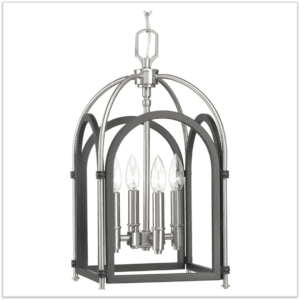
Here was the plan and after watching the video it seemed so simple. Just pull out the old light bulb, can cover, and poof I’d drill in the beautiful new Westfall Light Fixture from Progress.
From here:
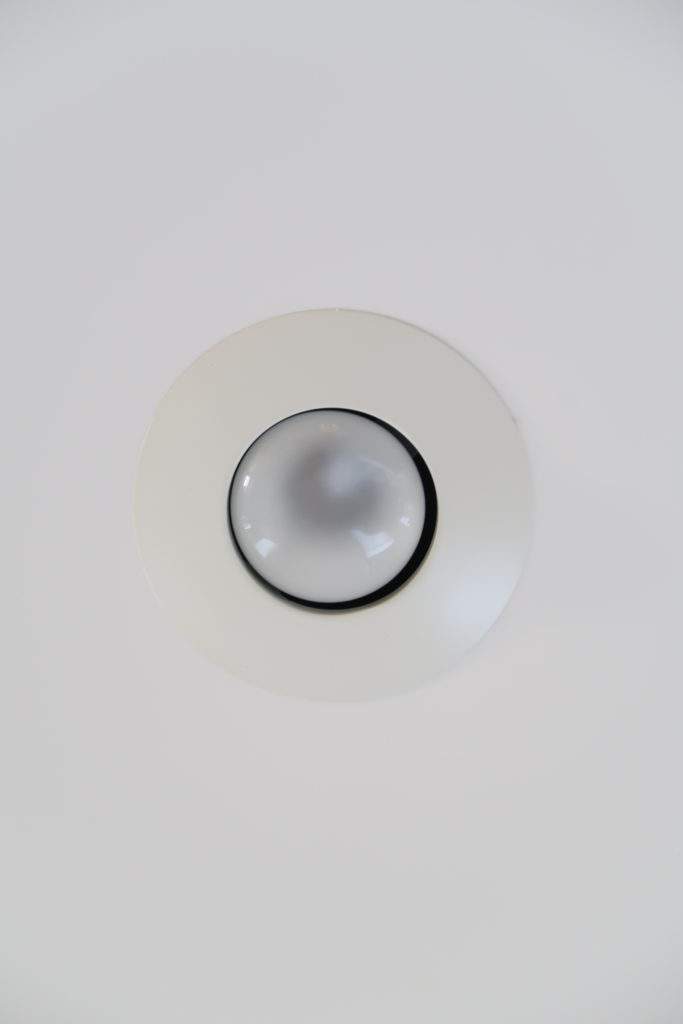
To here:
No problem, right? WRONG! YouTube made it look TOO easy.
Removing the Office Can Light
First, the recessed light conversion kit is AMAZING and installs really easily. The hard part is how awkward it is working in a small space over your head.
My skill level was the problem 🙁 I could not initially figure out how in the heck to remove the original can light.
The approach I took was wrong and left the white can in place and tried to install over it. DO NOT DO THIS!
After 3 or 4 failed installation attempts (I lost count) it finally clicked what I had to do to get the white fixture removed.
Here it is in all it’s glory! I could say a swear word right now seeing this picture.
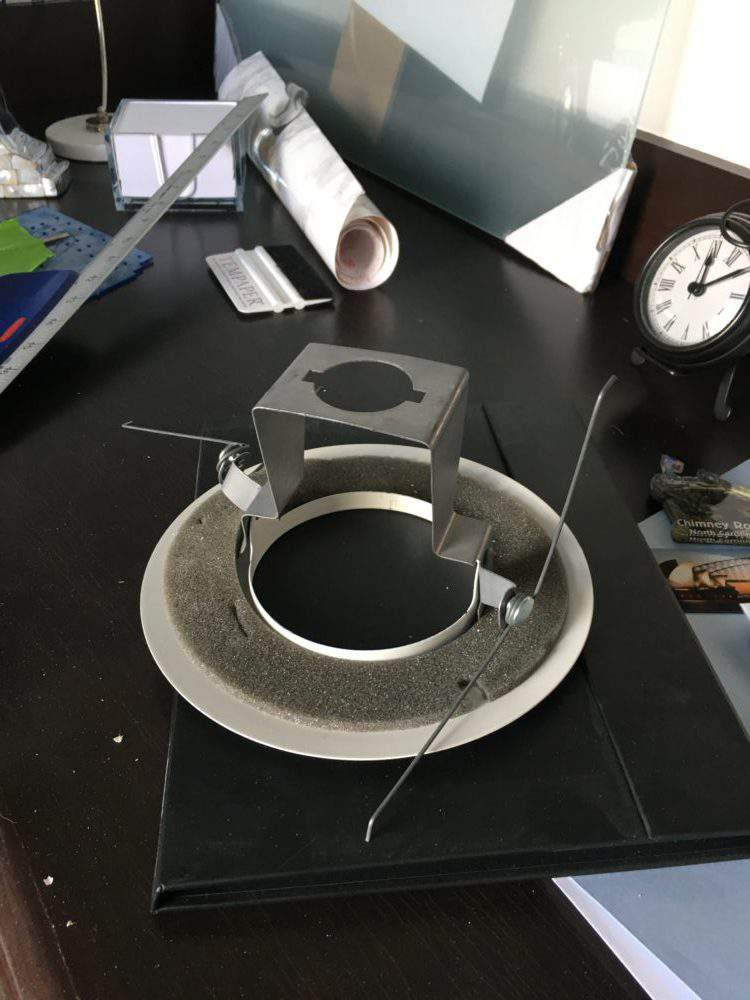
Apparently, all I had to do is twist that gray metal piece and remove it from the light bulb area. Not obvious when you are looking up into this fixture!
Being patient was a virtue and NOT GIVING UP was a good lesson too. Plus if I can give you ONE TIP:
Leave the wires LONGER than you think on the new light fixture
What was physically hard was adjusting the chain length. Because I cut the wires a little too short I had to go back and take out a couple of links a second time.
Pulling the links apart and pushing them back together was a huge challenge. I never did make them perfect.
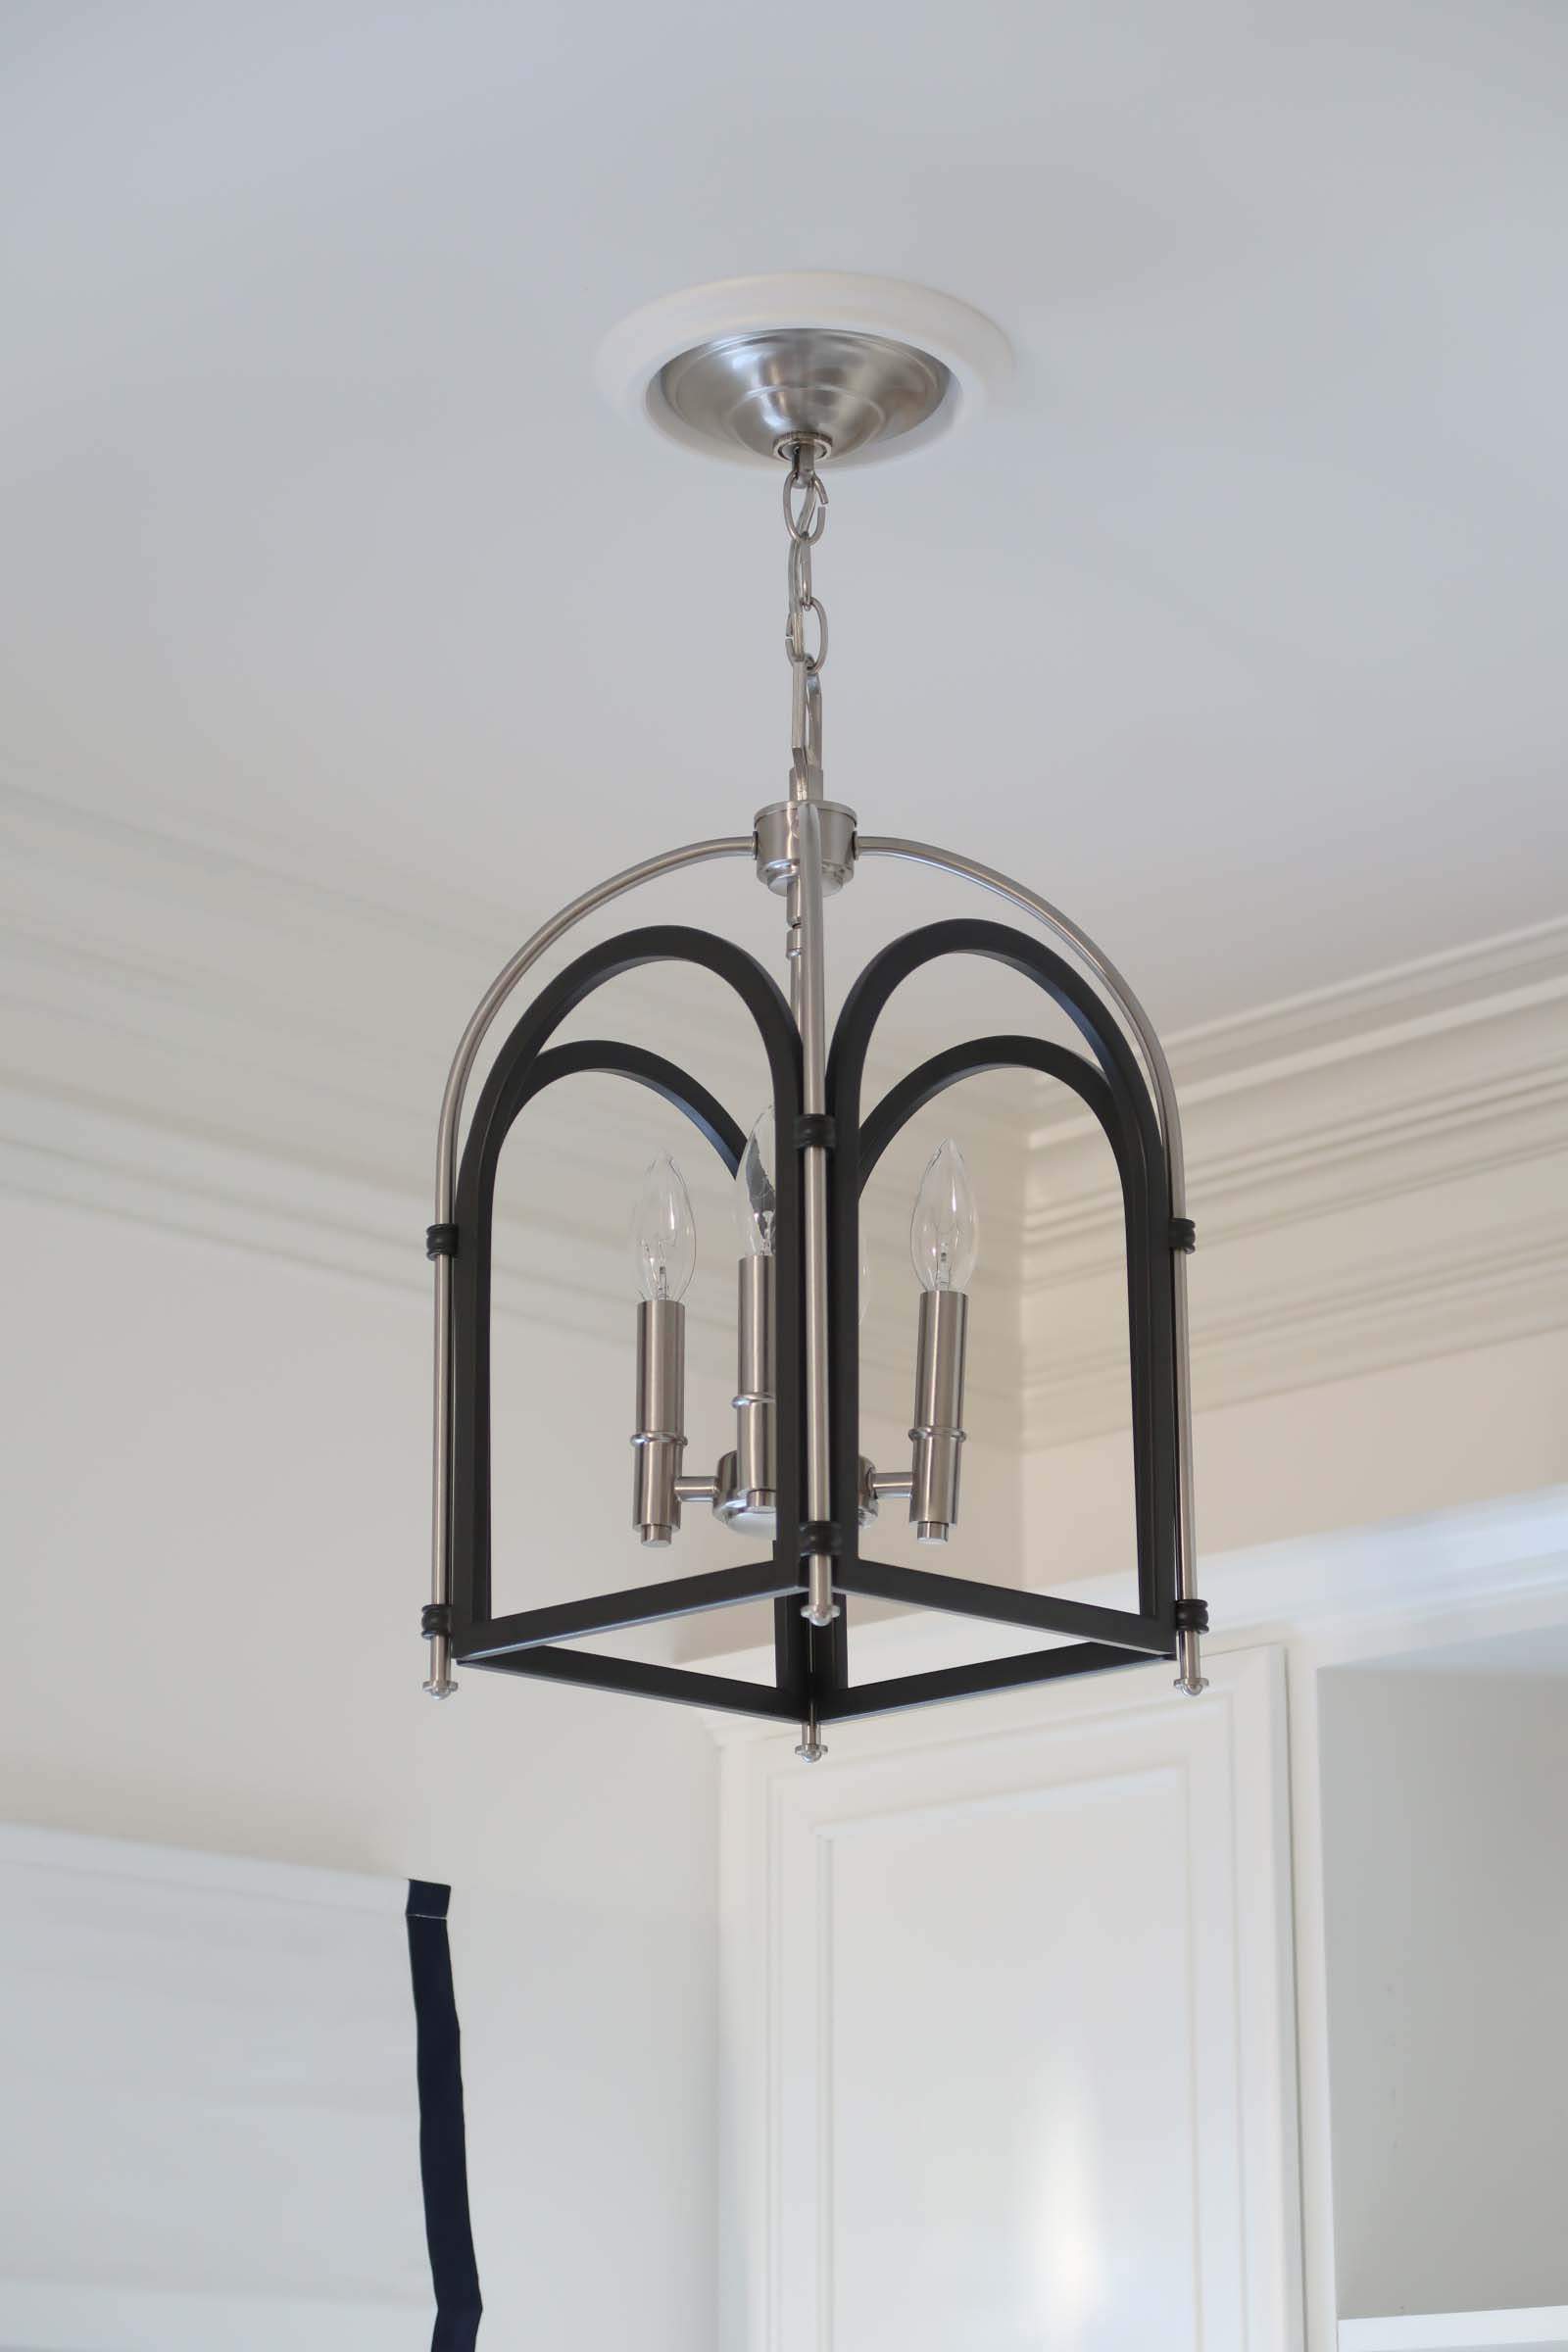
The Beautiful Office Light Fixture
It was SO worth the trouble and 4 hours of my life. Because look at how it perfect it is 🙂 CLICK HERE FOR WHERE TO BUY THE LIGHT FIXTURE
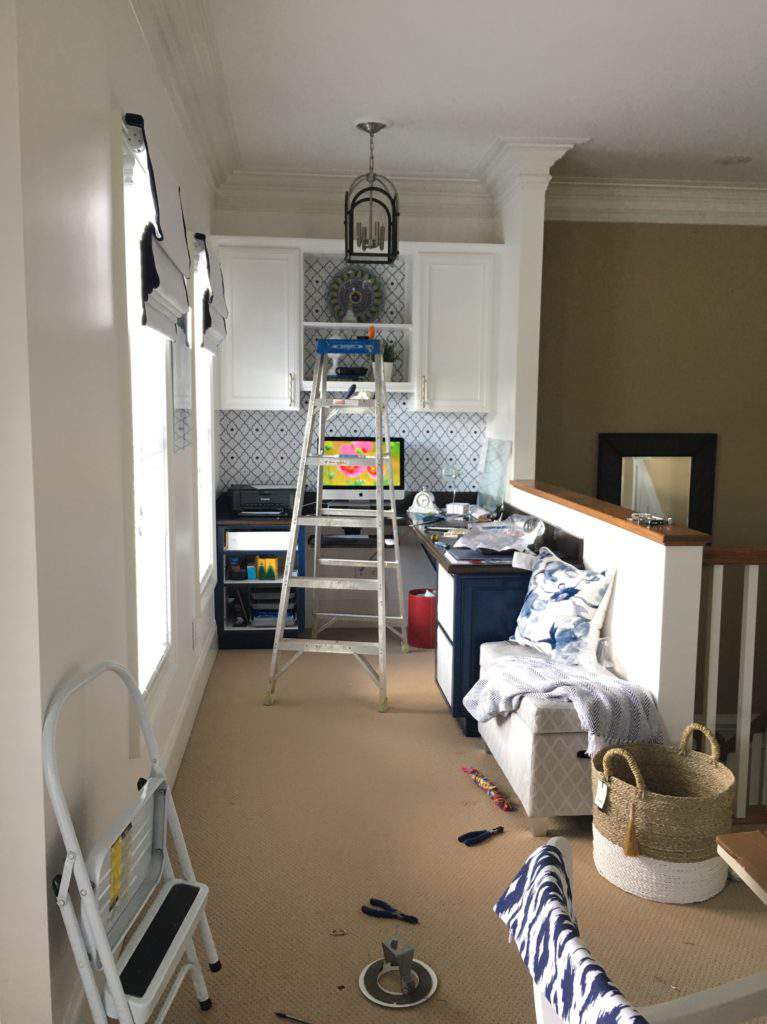
Here was the aftermath! iPhone picture sent to my Mom with the caption “I DID IT!” It doesn’t look centered at this angle, but I promise it is!
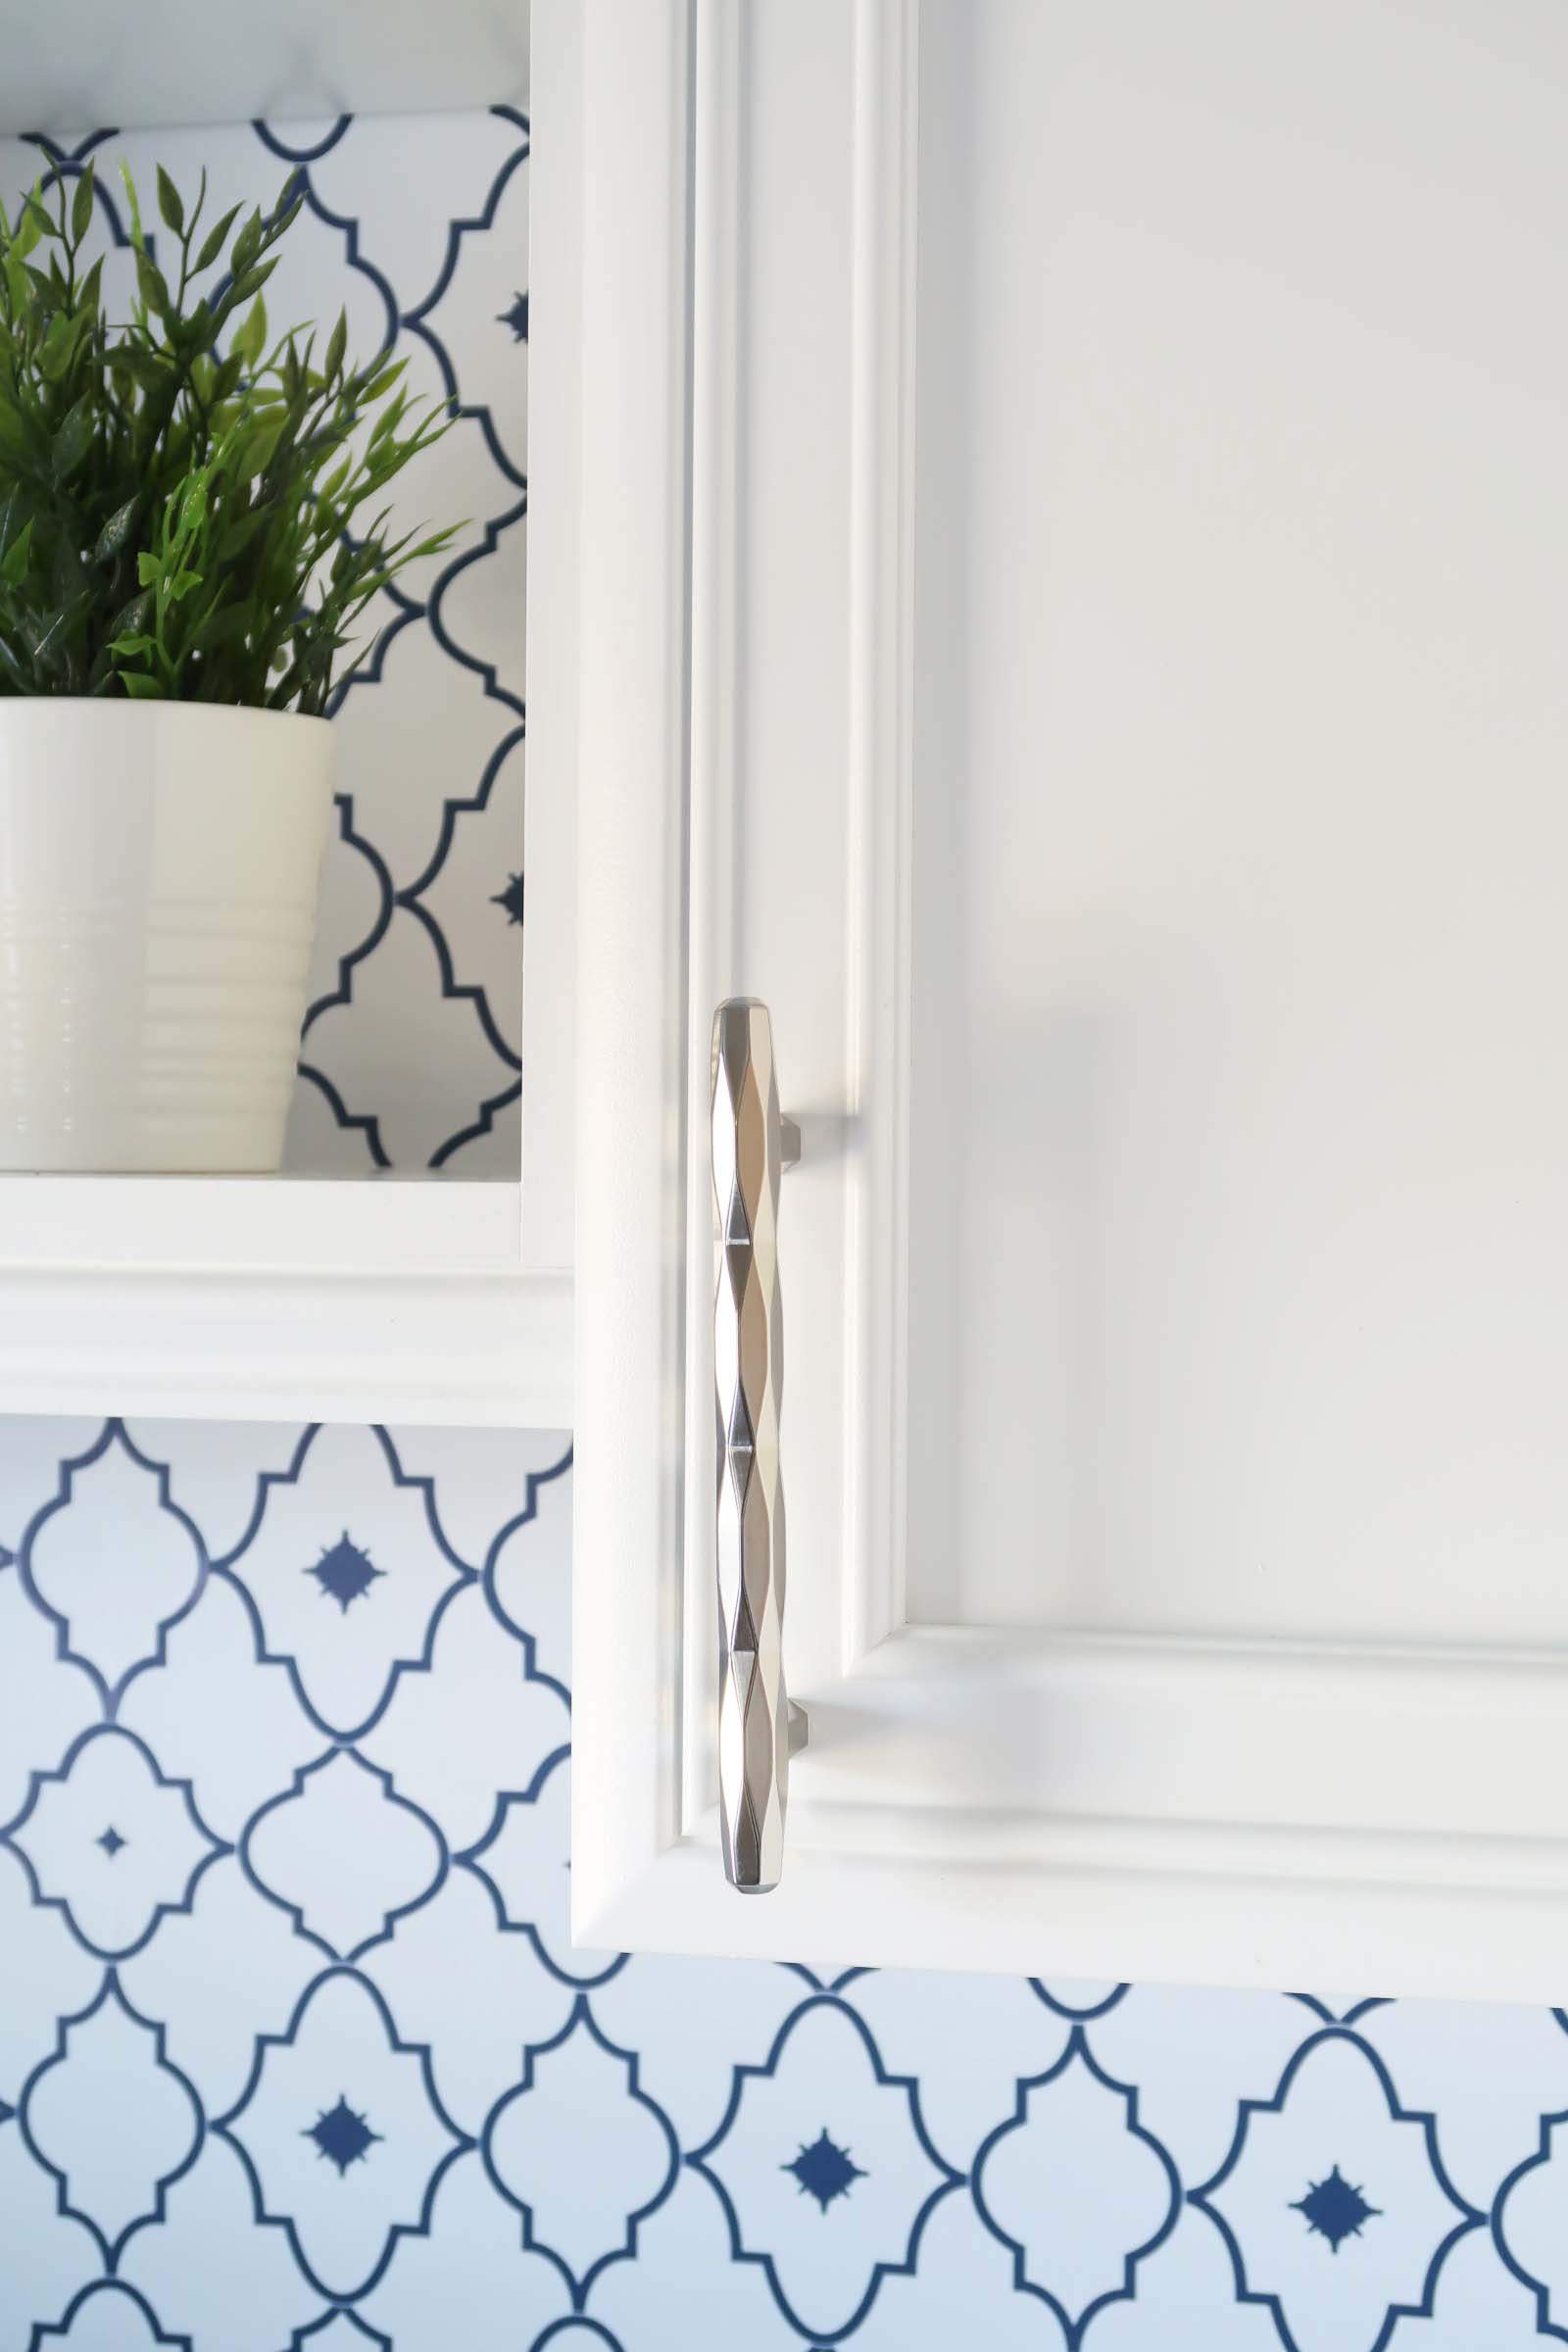
Installing the Cabinet Hardware
The cabinet hardware looks AMAZING! This hardware has special meaning and significance to me.
It’s called St. Vincent and what is special about this collection is that I lead the team at Amerock who designed it. To see your hard work in real form is incredibly satisfying!
It was named after one of the industrial designers Thomas Vincent, who put his special touch on the collection along with Peter Wells who refined it.
Both incredible designers that spent many long hours making it perfect.
The finish is Polished Nickel and reflects the light so beautifully!

The Smaller Details
Just because I love this throw and basket – here they are! The basket finish is inspiration for the faux finish I am attempting on the kitchen and coffee table. One thing I didn’t realize is how much I would use the bench that is in place of the refrigerator.
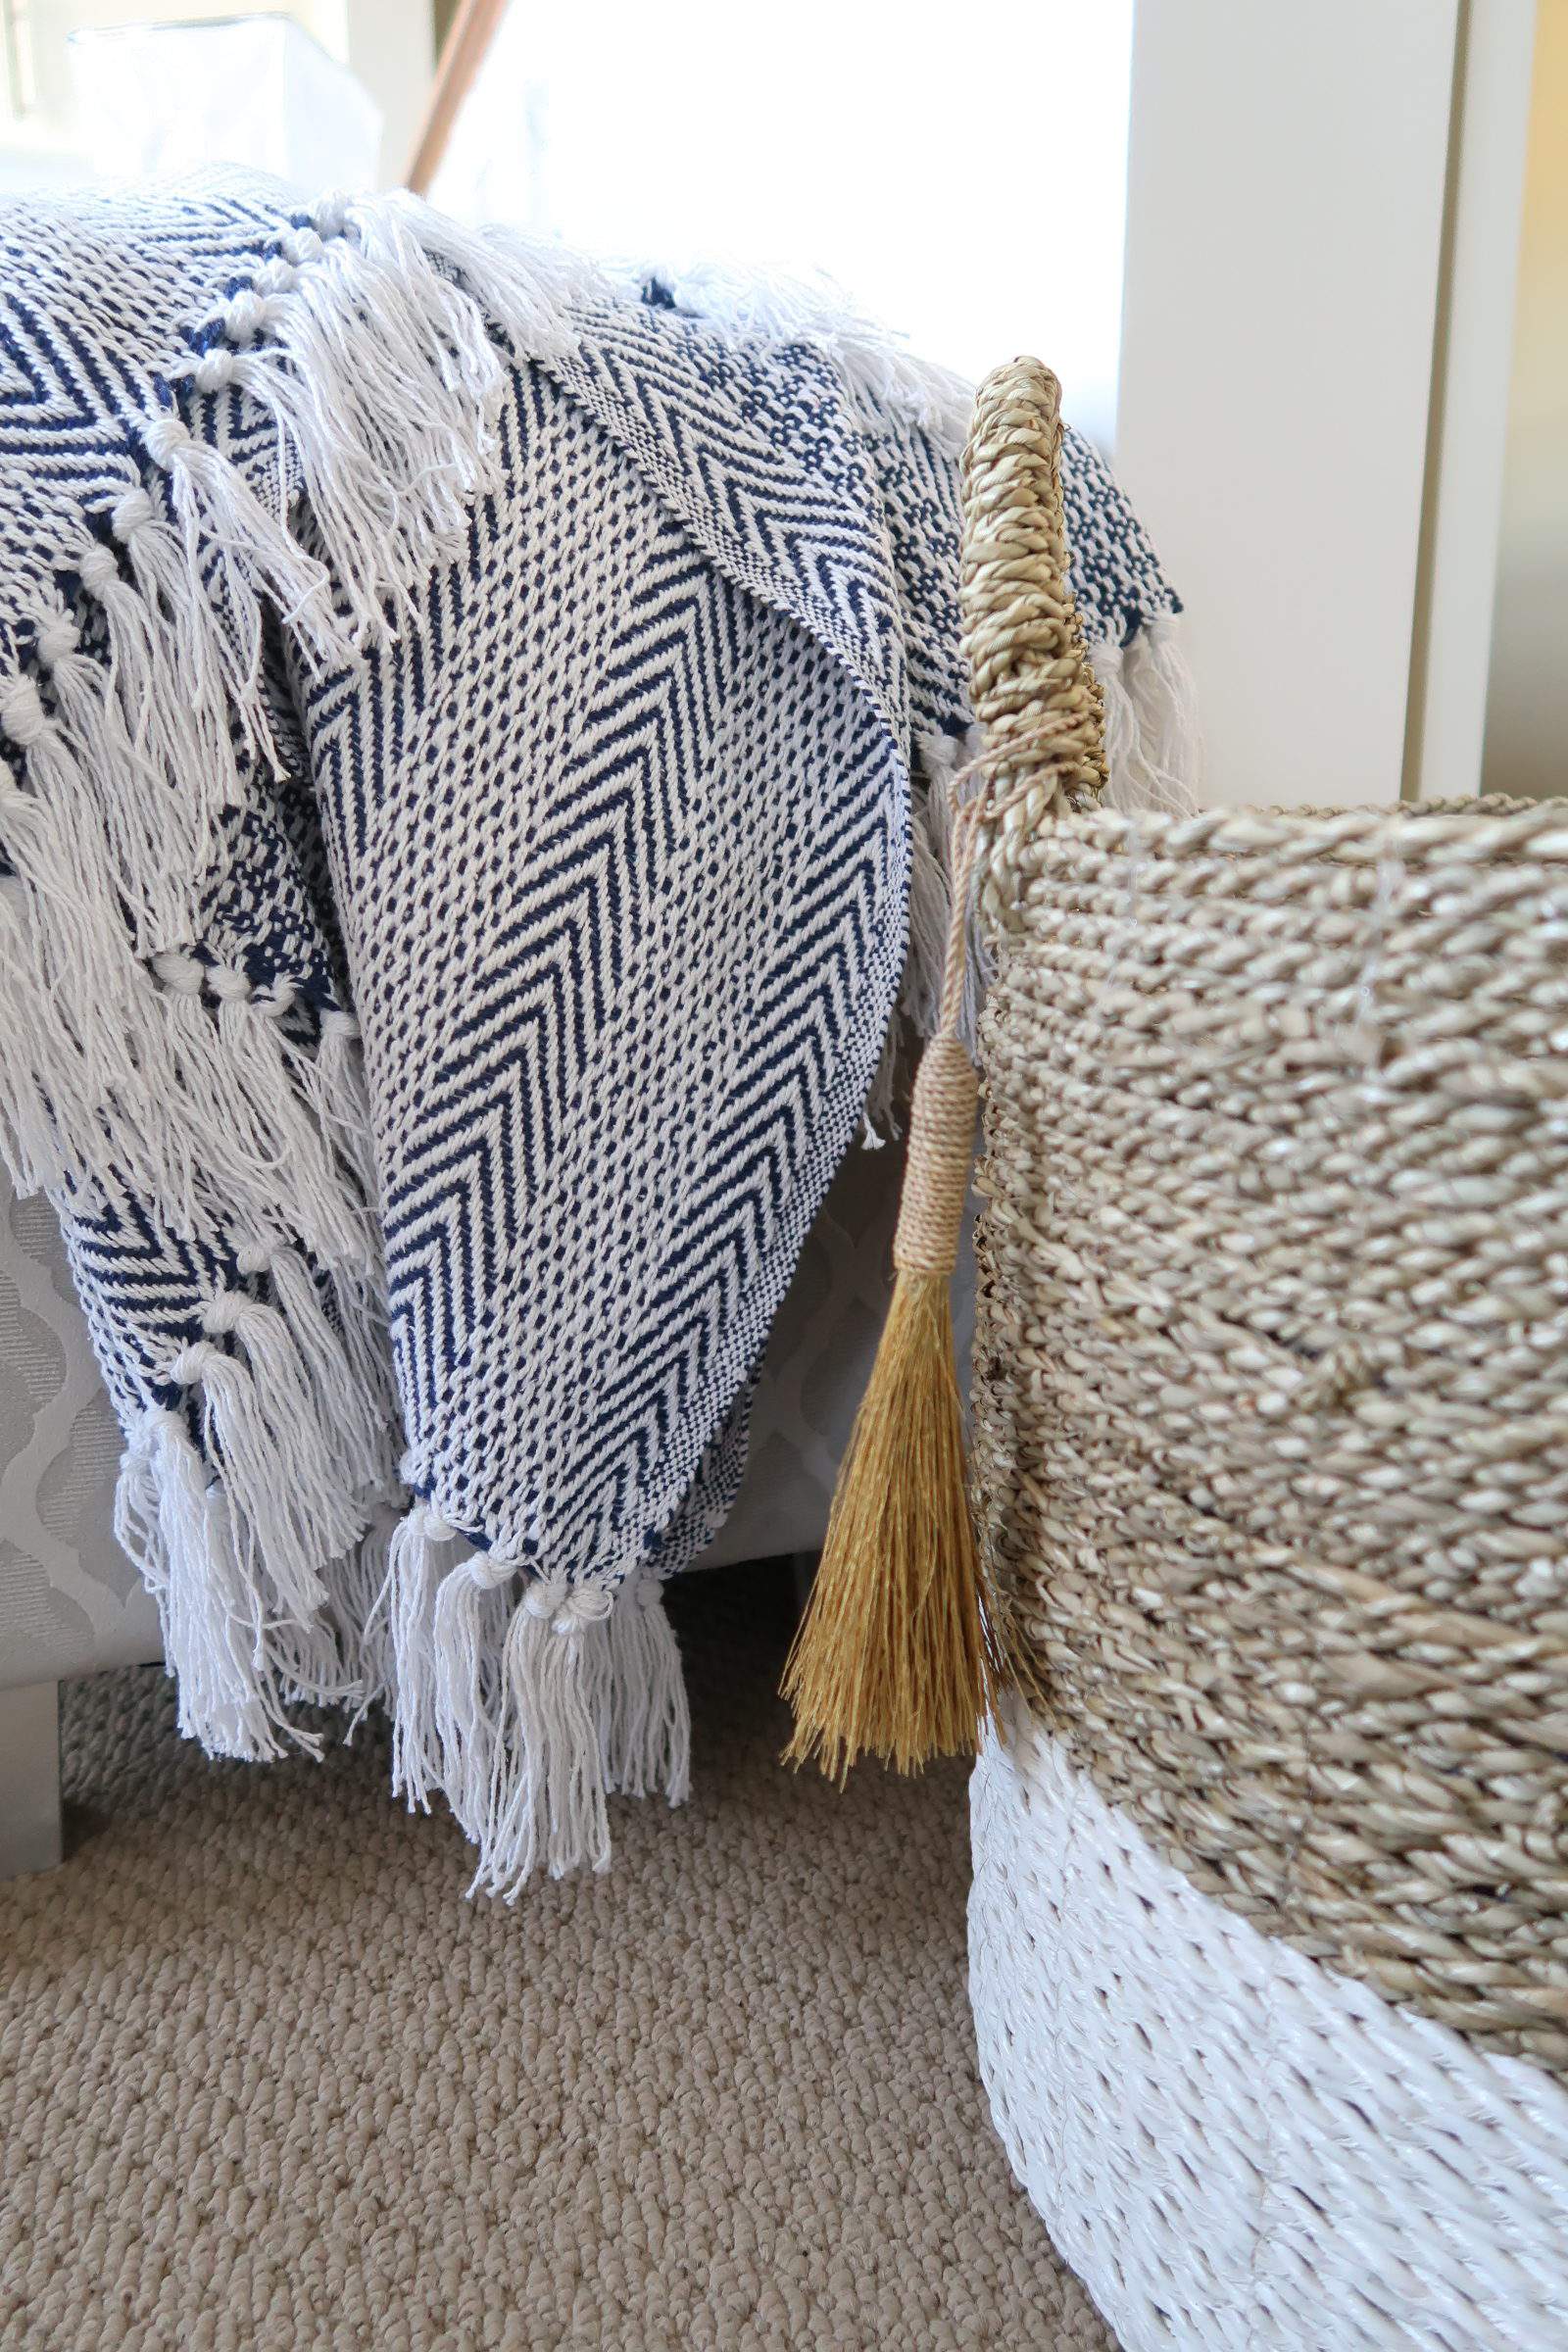
I’ll sit with Mick my dog, while on the phone, and stare out the window Its perfect! The feet on the bench were originally white, but I sprayed them silver to match the fabric.
There is so much more to share, but it will have to wait for next week! Week 5 means moving to the sitting area and man cave.
This is where personal and special touches will be important to include my son in the space. More faux finishes, ironing trim on curtains, and assembling Ikea furniture to come – oh, and that marble contact paper!
A special thanks to my sponsors this week Amerock who provided the hardware and Progress Lighting who provided the Westfall light fixture.

While you are waiting for next week’s post, check out The One Room Challenge and all of the Week 4 Progress or the 20 Featured Designers to see their beautiful work too!
There are some amazing projects in the works and I can’t wait to see them with you.
Until next time…
Porch Daydreamer
Tracey
I NEED to know where you got the wallpaper behind the shelves/cabinets. I’ve been looking for this for behind the shelving in my family room. I tried to click on a few things in the post but nothing worked! Nice job on the makeover. Very pretty!
It’s nice to here you like the makeover – thank you! Sorry the links didn’t work for you. If you hover over the picture a link icon appears. Just double checked and it was live.
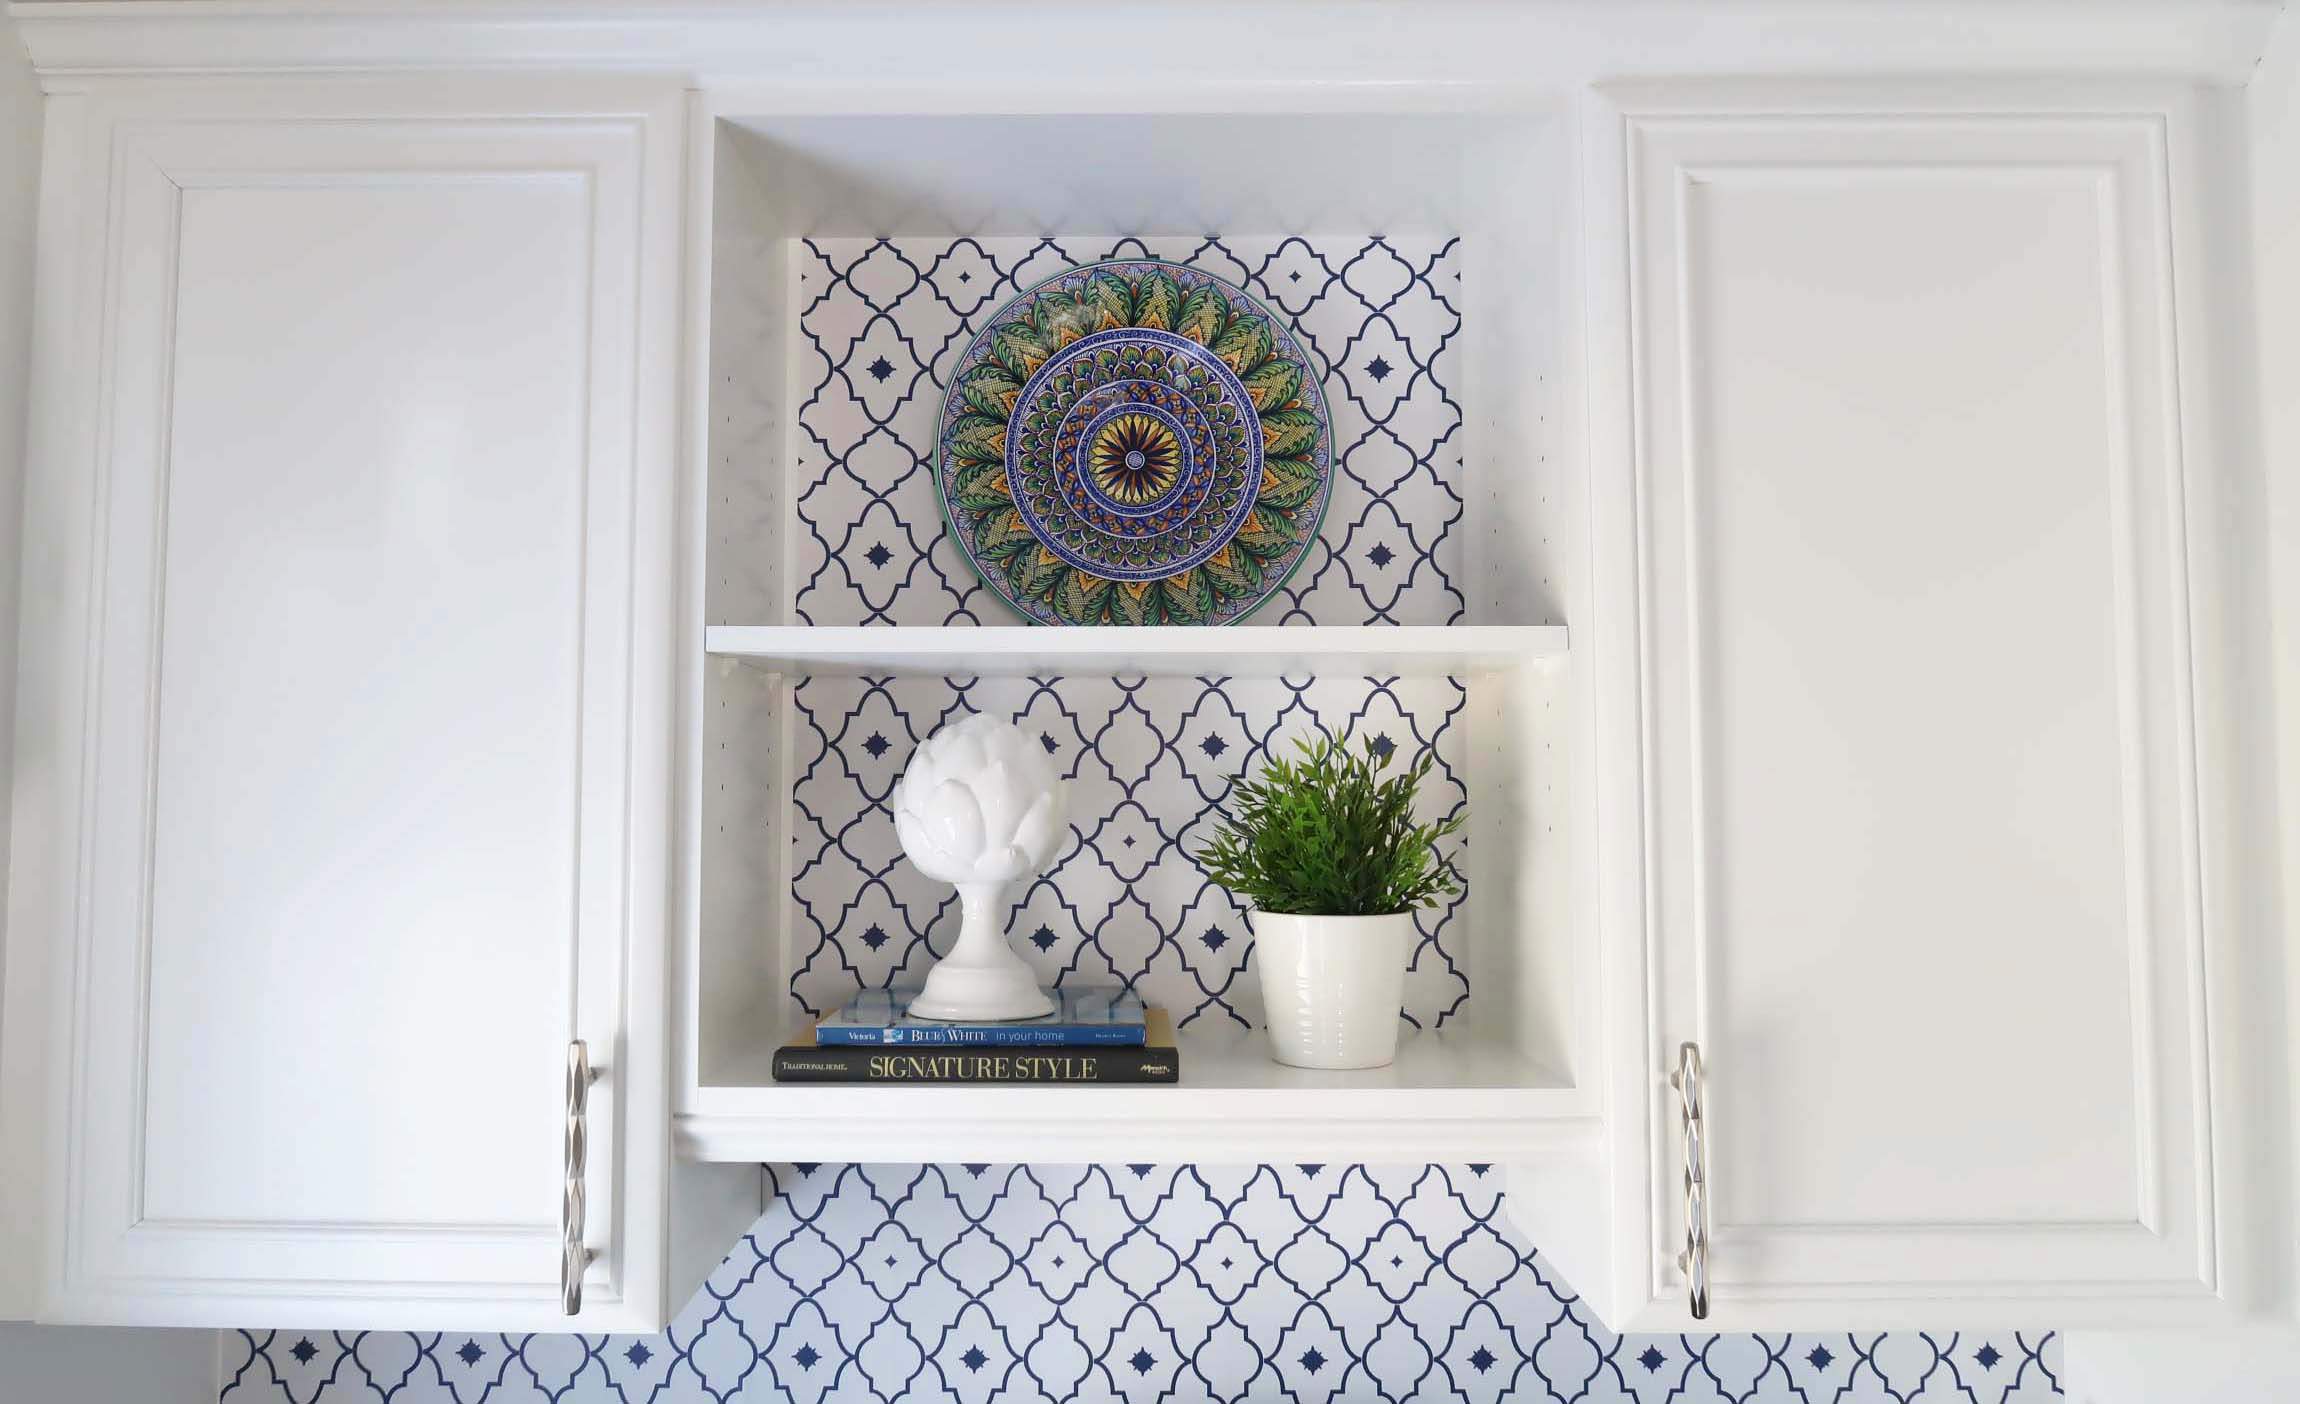
Here it is for convenience: https://www.simpleshapes.com/moroccan-star-wallpaper-navy-peel-and-stick.html
I love what you are doing in here Tracey! It is already so much brighter 🙂 And those cabinet pulls are to die for! 🙂
Hey, Lisa! Thank you and aren’t they amazing 🙂 I’m using them to trade up my Ikea furniture too! Cheap and easy Ikea “hack:.
Absolutely beautiful! I saw the space before and what a transformation. It was a pretty space before, but now its beautiful! Great job.
Thanks, BFF! I love you and have appreciated your support for the blog. It was you who first encouraged me to do it 🙂
Holy cow, you have accomplished so much!! Strong work on the light fixture!! I don’t think I would’ve been brave enough to tackle something like that. But you’ve given me courage. ?? It’s all looking amazing!!!
Hi, my friend with the beautiful view and great blog! So my bravery is really being cheap ha, ha! If it can be done by someone on YouTube than surely I can do it 🙂
I’ve always been super intrigued by those can light conversion kits! Glad to hear your thoughts on it! (It’s never as easy as they make you think! ) 🙂
Hey, funny lady! Thanks for stopping by 🙂 The kit was awesome! The can light fixture my builder used and my skill level were not so awesome…